Homemade Pili Pili Chili Oil with Basil and Garlic
This homemade pili pili oil blends olive oil with fresh red chilies, basil, garlic, and black pepper. It is a quick finishing condiment for pizza, pasta, and grilled food, with a loose, pourable texture and a fresh garlic bite. Make a small batch, adjust the chilies to your taste, and keep the finished oil refrigerated.
In my video, I make the oil while a pizza is in the oven. The idea is simple: chop the aromatics, blend them with olive oil, and drizzle a little over the hot slice. This written version gives you measured quantities and updated storage instructions. There is no cooking or waiting for a long infusion, so the oil is ready to use as soon as it is blended.
{VIDEO}
What makes this pili pili oil different
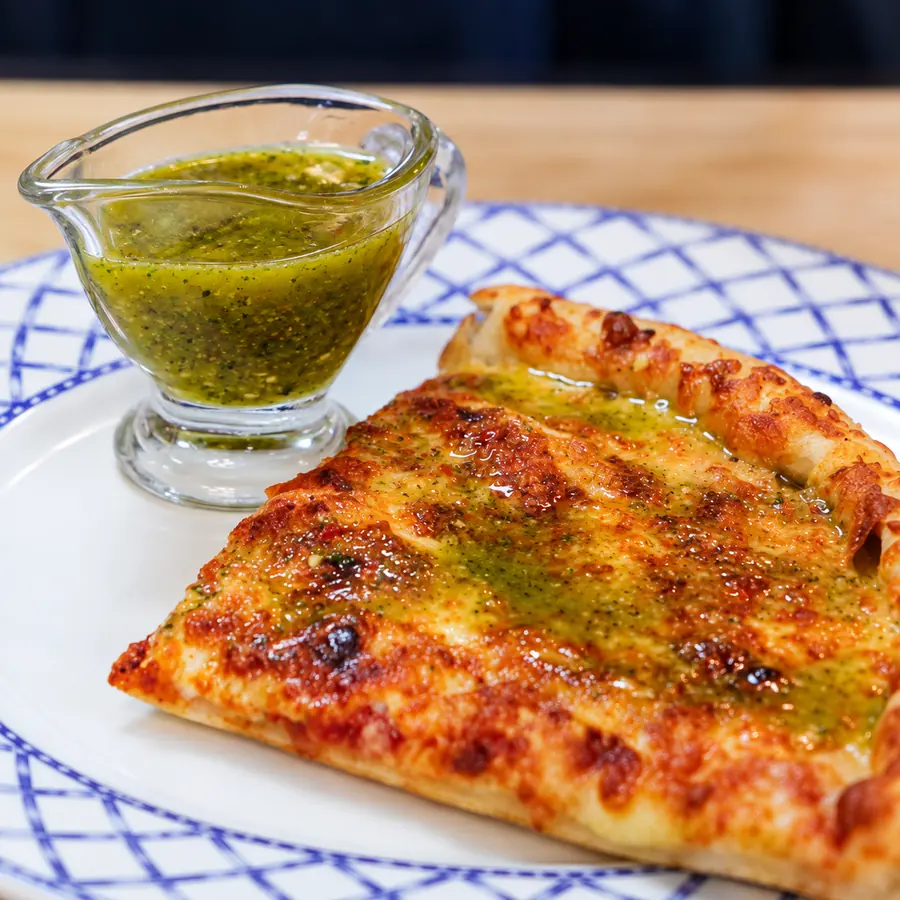
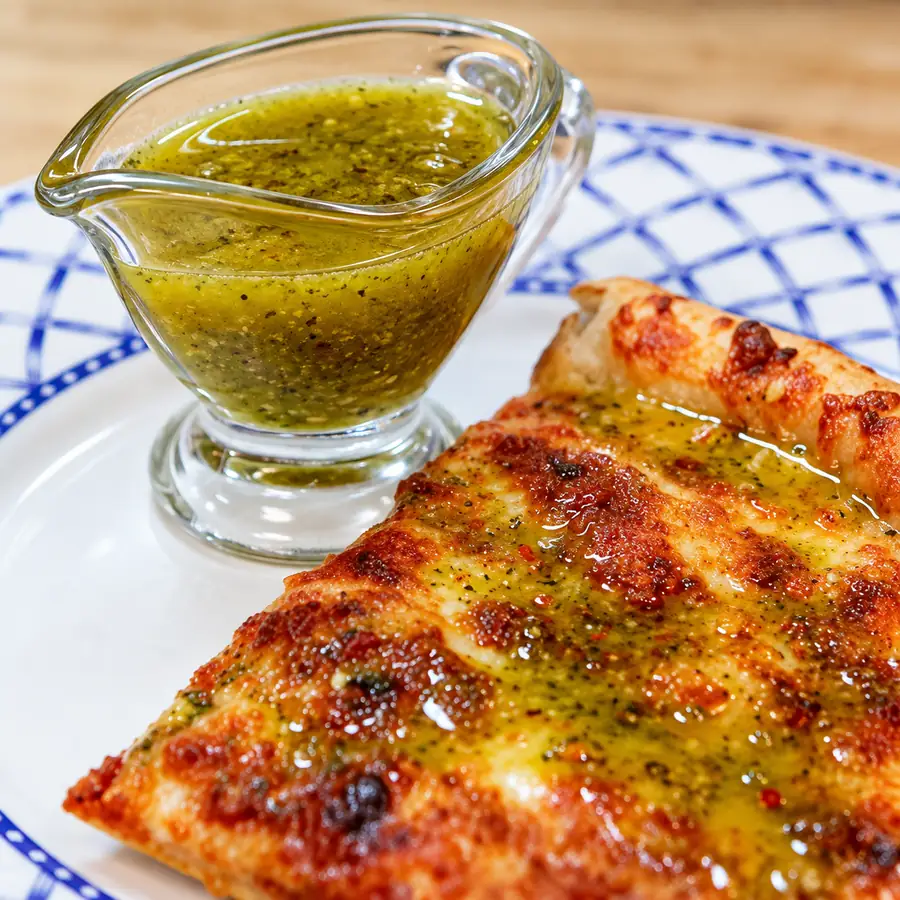
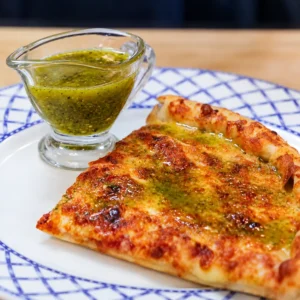
This is a fresh, blended chili oil. The basil makes it greenish gold, and the garlic gives it a sharper flavor than a cooked garlic oil. Tiny pieces of chili and herb remain suspended in the oil. It should run easily from a spoon; it does not need to be perfectly clear or completely smooth.
The recipe follows the basil-and-garlic version shown in the video. There are many other sauces and oils called pili pili or piri piri, so the name alone does not tell you whether a recipe contains vinegar, lemon, paprika, or cooked peppers. Here, the main flavor comes from olive oil and fresh aromatics. If you want a more concentrated pepper paste, try my homemade harissa. For a thicker herb sauce with cheese and nuts, my food processor basil pesto is a different option.
Ingredients and the right proportions
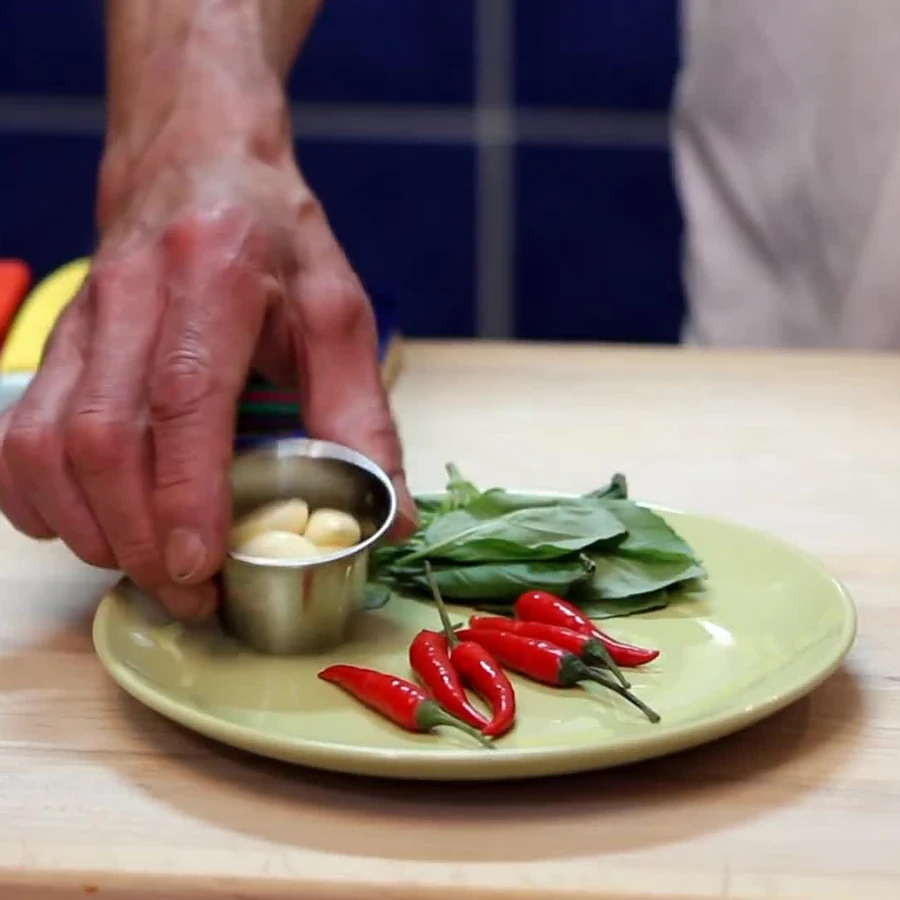
Use 1 cup of olive oil, 2 small fresh red bird’s-eye chilies, 2 medium garlic cloves, 1/4 cup loosely packed basil leaves, and 1/8 teaspoon freshly ground black pepper. These quantities make about 1 1/8 cups, depending on the size of the aromatics. Think of it as roughly eighteen 1-tablespoon portions, although a teaspoon is often enough for a slice of pizza.
Bird’s-eye chilies vary considerably in heat. Two can already make a hot oil. Start with one if you are sensitive to spice, and use up to four for a stronger version. Removing some seeds and the pale inner ribs can reduce the heat, but it does not make a very hot chili mild. A larger mild red chili is a better choice if you want the color and flavor without a strong burn.
Choose an olive oil you enjoy tasting on its own. A mild or medium-fruity oil leaves room for the basil and chili. A strongly bitter oil will still taste strongly bitter after blending. There is no need to use an expensive bottle, but old or rancid oil will spoil the flavor of the whole condiment.
Fresh basil and raw garlic are important to the character of this version. Use healthy leaves and firm cloves. Rinse the basil and chilies, then dry them thoroughly before chopping. Drying improves the texture and avoids adding unnecessary water; it does not turn the recipe into a shelf-stable preserve. I leave salt out of the oil because pizza, cheese, and cooked pasta are usually already seasoned. You can salt the food itself if needed.
How to make the oil
1. Prepare and chop the basil
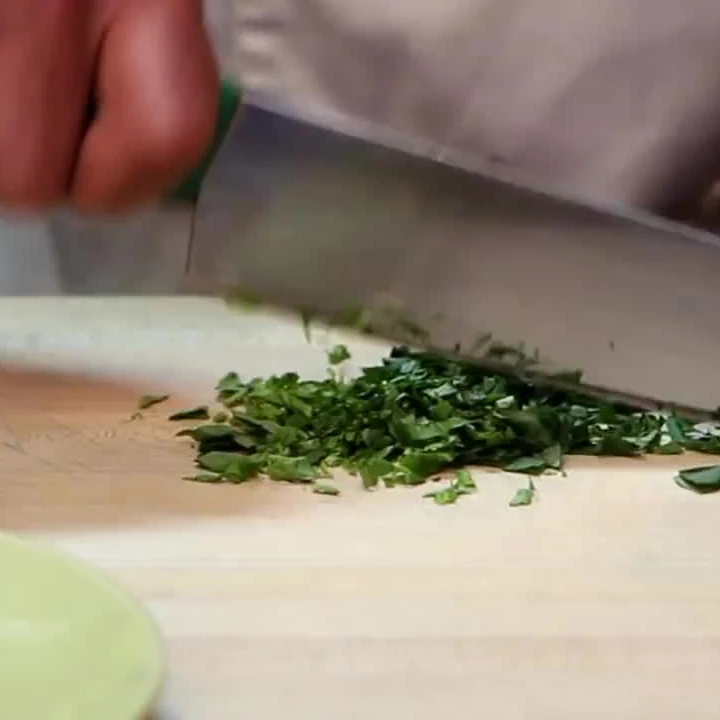
Wash your hands, clean the board, and have a clean, dry blending cup and storage container ready. Pat the washed basil dry. Stack the leaves, roll them loosely, and slice them into thin strips. Add them to the blending cup. Chopping first helps a small immersion blender work efficiently without leaving large pieces of leaf.
2. Chop the chilies
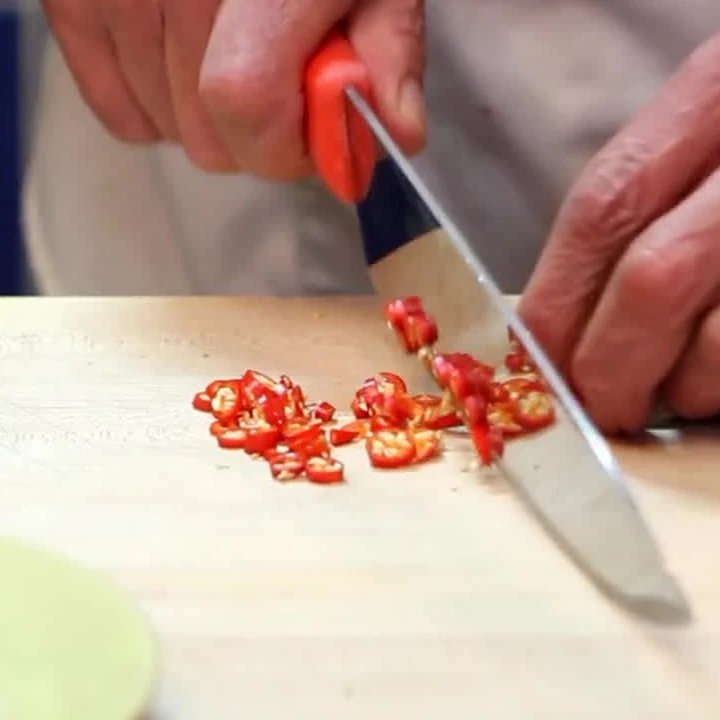
Wear food-safe gloves when handling hot chilies. Remove the stems, then slice the chilies into small rings. Add them to the basil. Keep the seeds for the stronger version or remove some seeds and ribs before slicing. Wash the knife and board after handling the chilies, and avoid touching your eyes.
3. Prepare the garlic
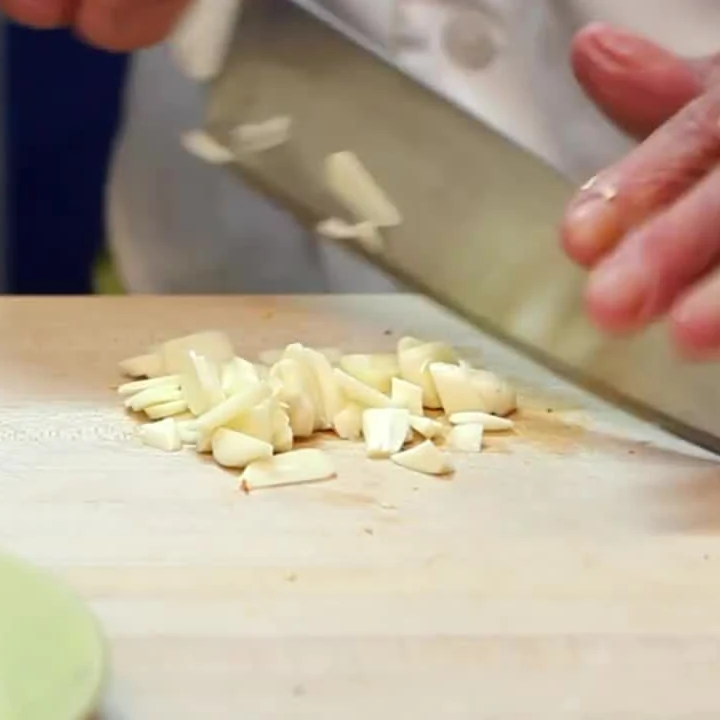
Peel the garlic cloves and roughly chop them. Add them to the cup. There is no need to mince them into a paste because the blender finishes the job. Two medium cloves give a noticeable raw garlic flavor; use one if you want a gentler oil. This is a different result from the softened garlic used in aglio e olio pasta.
4. Add the oil and pepper
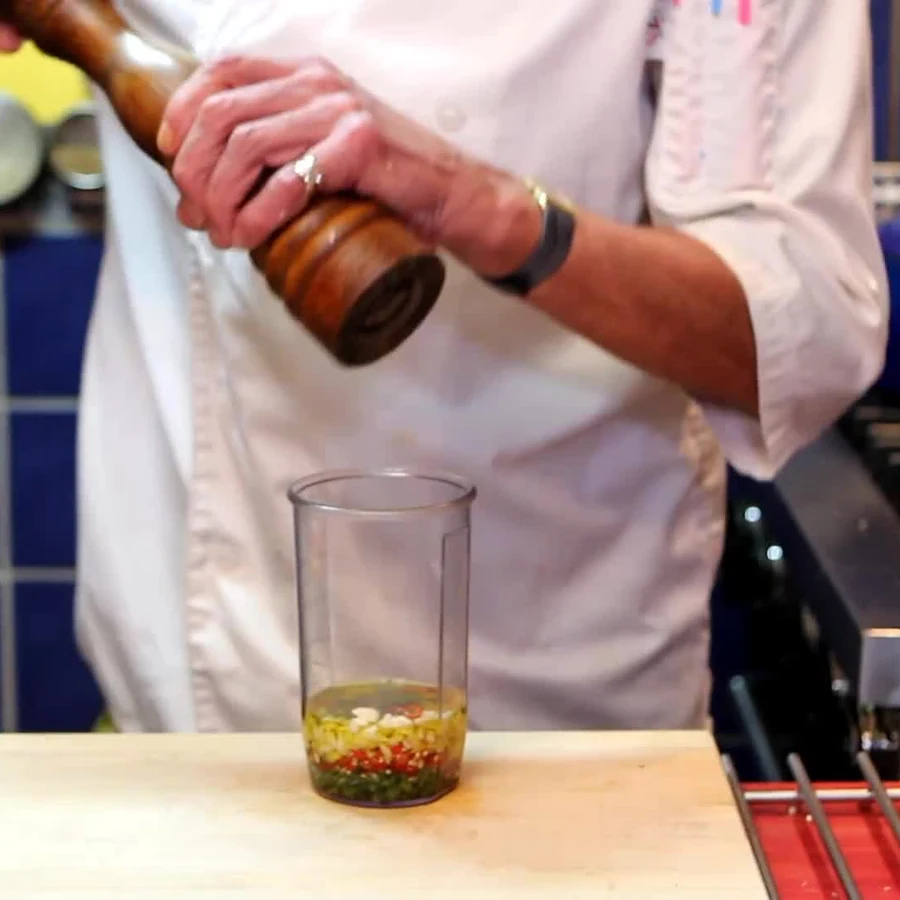
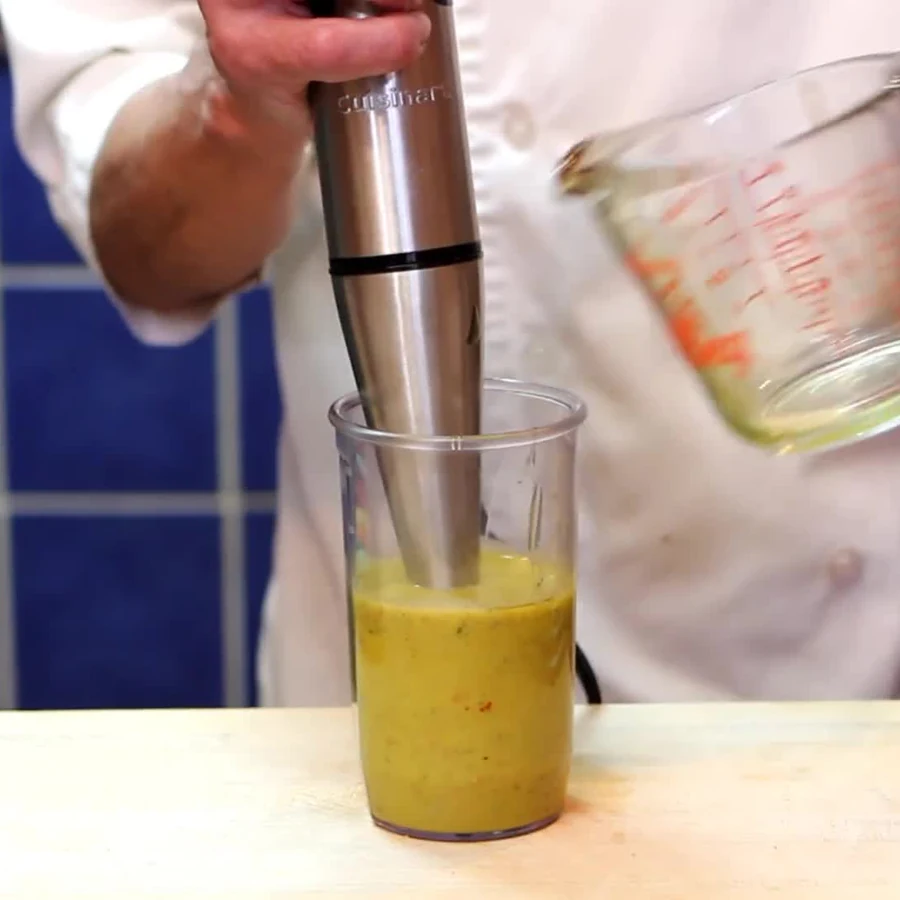
Pour the measured olive oil over the basil, chilies, and garlic, then add the black pepper. Use a narrow cup that fits your immersion blender, with enough room above the liquid to avoid splashing. The oil should cover the aromatics and reach high enough for the blender head to stay submerged.
5. Blend briefly and check the flavor
Set the blender head on the bottom of the cup before switching it on. Blend in short bursts for about 20 to 30 seconds, moving it gently until the garlic and chilies are finely broken down. Stop when the oil is evenly speckled and pourable. Avoid lengthy blending, which can warm the mixture and make some olive oils taste more bitter.
Unplug the blender before tasting or scraping the cup. Taste a few drops on bread rather than taking a spoonful of concentrated oil. Add a little more olive oil if the flavor is too aggressive. If you add more chili, blend briefly again. Any added oil changes the yield, so keep that in mind when portioning.
6. Bottle and refrigerate immediately
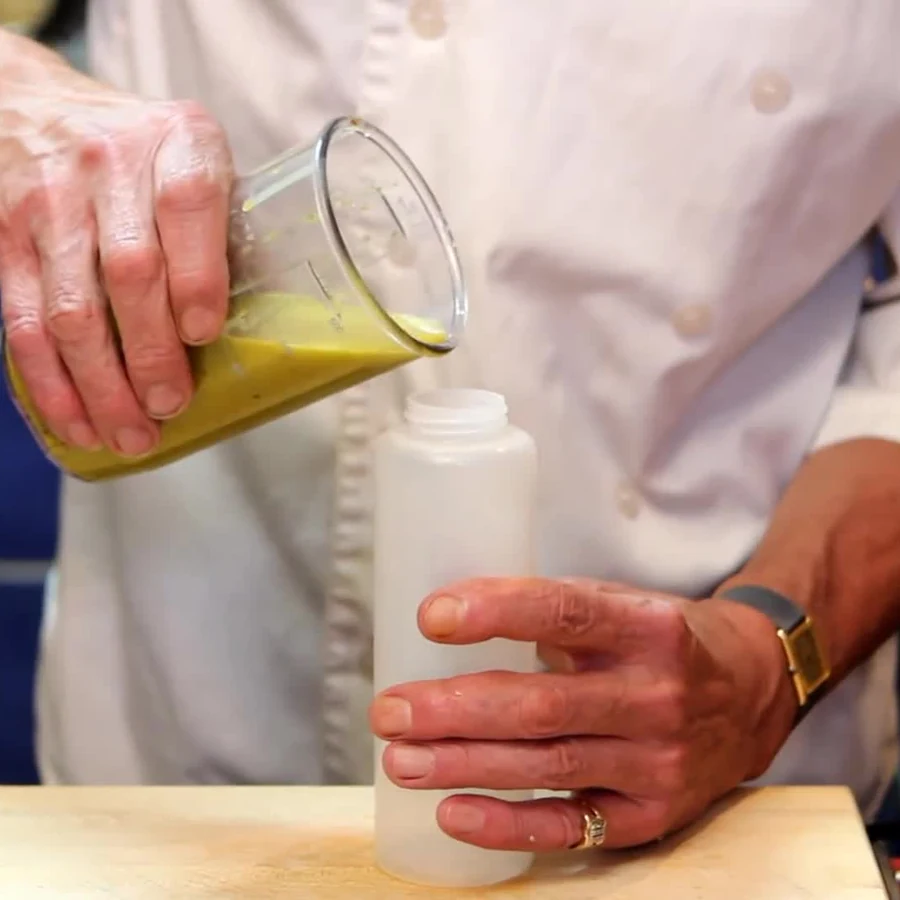
Transfer the oil to a clean, dry jar or a food-safe squeeze bottle with an opening wide enough for the fine solids. Close it, label it with the preparation date, and refrigerate immediately at 40°F or below. Use within four days of preparation, or freeze small portions promptly. Shake or stir before serving because the solids can settle.
Take out only the amount you need for the meal. Do not leave the bottle beside the stove or on the table between uses, and do not refill an old batch with fresh oil. A clean bottle helps with hygiene, but it does not make raw garlic and herbs in oil safe for long storage.
Serving ideas
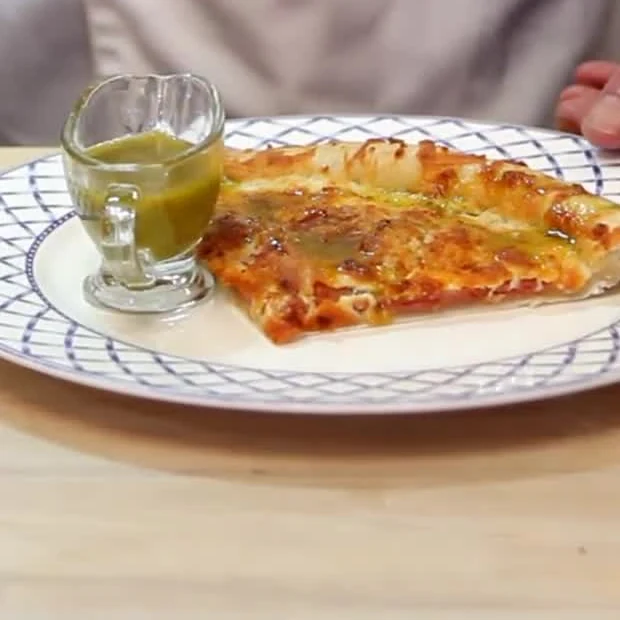
Drizzle a little over pizza after baking. Start with a teaspoon per slice, spread it lightly, and add more only if you want it hotter. The oil is especially good with a simple cheese pizza because the basil and garlic are easy to taste. Try it on my homemade pizza or alongside Neapolitan pizza made without a pizza oven.
For pasta, add a small spoonful at the end, when the pan is off the heat, and toss well. It can also finish roasted vegetables or grilled chicken. Use it sparingly as a dip for soft and crispy focaccia. It is a concentrated seasoning rather than a sauce to pour generously over everything.
Substitutions and variations
Use parsley in place of basil for a less sweet herb flavor. For another fresh herb condiment, try my homemade chimichurri, which has a different balance of herbs and acidity. Replacing the basil does not change the four-day refrigerated storage limit for this oil.
If you prefer a milder oil flavor, replace half the olive oil with a neutral oil such as canola. Red chili flakes can replace the fresh chilies for a different texture; start with 1/2 teaspoon and adjust after tasting. Keep the same refrigeration and storage instructions because the mixture still contains garlic and herbs.
A splash of lemon or vinegar can change the flavor, but it does not establish a tested preservation process. For a condiment built around acidity, use my quick mustard vinaigrette. If you want a creamy spicy sauce instead, homemade sauce samourai and maple sriracha mayo offer two other textures.
Frequently asked questions
Can I keep this oil for several weeks
No. For this homemade mixture of fresh garlic, basil, and chilies in oil, refrigerate immediately and use within four days, or freeze promptly. It is not suitable for pantry storage or home canning. Follow these instructions even if an older video or recipe suggests a much longer keeping time. The CDC’s guidance for homemade garlic and herb oils also specifies refrigeration and discarding unused oil after four days.
Does refrigeration make the oil cloudy or firm
Olive oil can become cloudy or partially solid in the refrigerator. Spoon out the portion you need and let that small amount soften briefly before serving. Cloudiness does not prove the oil is spoiled or safe; the preparation date and proper storage still matter. Do not taste a batch that has been kept too long to decide whether it is safe.
Can I strain it for a clearer oil
You can strain it for a different texture, but you will lose some of the basil, garlic, and chili solids. Straining does not remove the need for refrigeration or extend the storage time. For the texture shown in the video, leave the mixture unstrained and stir or shake before use.
Can I make a smaller batch
Yes. Halve all the ingredients and use a small blender cup that still lets the blade stay submerged. If your immersion blender cannot process that volume, finely chop the aromatics and stir them into the oil. The texture will be coarser, but the same immediate refrigeration and four-day limit apply.
Homemade Pili Pili Chili Oil with Basil and Garlic
Ingredients
- 1 cup olive oil
- 2 small fresh red bird's-eye chilies stems removed; use 1 for gentler heat or up to 4 for very hot oil
- 2 medium garlic cloves peeled
- 1/4 cup loosely packed fresh basil leaves
- 1/8 teaspoon freshly ground black pepper
Instructions
- Wash and thoroughly dry the basil and chilies. Slice the basil and put it in a clean, dry blending cup.
- Wearing gloves, remove the chili stems and finely slice the chilies. Add them to the cup.
- Roughly chop the peeled garlic and add it to the cup.
- Add the olive oil and pepper. Use a narrow cup deep enough to keep the blender head submerged.
- Blend in short bursts for about 20 to 30 seconds until finely speckled and pourable. Unplug the blender and taste a few drops on bread. Adjust the heat with a little more oil if necessary.
- Transfer to a clean, dry container, label with the preparation date, and refrigerate immediately at 40°F or below. Shake or stir before use. Use within four days of preparation or freeze small portions promptly.