Filipino Chicken Adobo with Soy Sauce and Vinegar
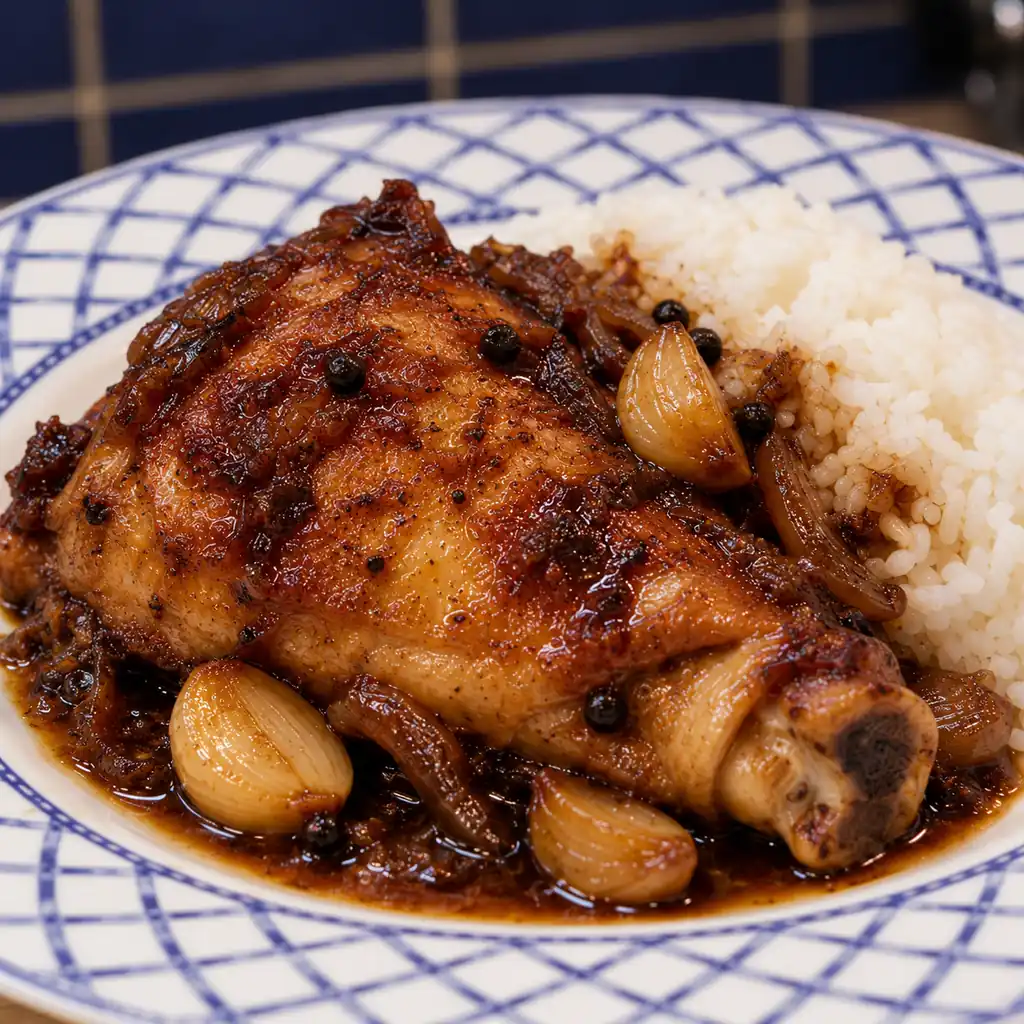
Chicken adobo is a Filipino braised chicken dish with vinegar, soy sauce, garlic, bay leaves, and black pepper. This version starts with browned chicken thighs and finishes with a glossy, savory sauce that still has a clear vinegar tang. I use bone-in thighs because they suit the gentle simmer and stay substantial enough to serve over rice.
What makes this chicken adobo work
The balance comes from three separate jobs. Vinegar brings acidity, soy sauce seasons the cooking liquid, and the chicken releases juices as it simmers. Reducing that liquid at the end concentrates everything together. I like to stop while the sauce still moves freely around the chicken; reducing it to a sticky glaze can make the salt overpower the garlic and vinegar.
Adobo is a family of preparations with many household and regional versions. This recipe uses a soy-and-vinegar braise, without claiming to represent every Filipino kitchen. It is different from Mexican adobo sauces built around dried chiles. It also has a sharper finish than my honey garlic chicken, which takes the meal in a sweeter direction. Choose according to the sauce you want on your plate.
There is no overnight marinating step here. Browning, gentle cooking, and a short sauce reduction give this version a practical sequence for an evening meal. Allow approximately one hour from preparation to serving, with some variation for the size of the thighs. Have the rice ready before the sauce reaches its final consistency so the chicken can go straight to the table.
Ingredients and shopping notes
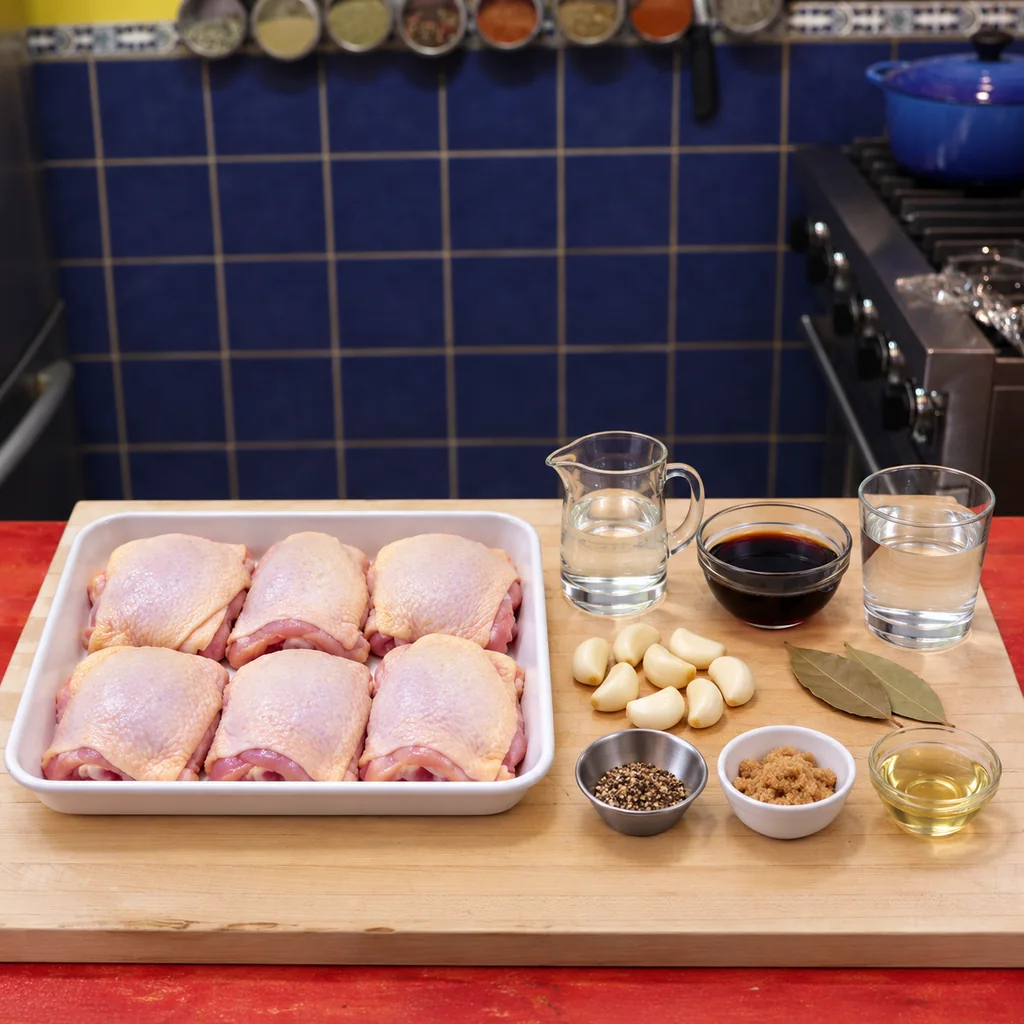
6 bone-in, skin-on chicken thighs, about 2 1/2 to 3 lb (1.2 to 1.4 kg)
1 tbsp (15 ml) neutral cooking oil
10 garlic cloves, peeled and lightly crushed
1/2 cup (120 ml) cane vinegar or plain white vinegar labelled 5% acidity
1/3 cup (80 ml) reduced-sodium soy sauce
1/2 cup (120 ml) water, plus more if needed
2 dried bay leaves
1 1/2 tsp (about 3 g) whole black peppercorns, lightly cracked
2 tsp (8 g) brown sugar, optional
I use reduced-sodium soy sauce to leave more room for reduction. Regular soy sauce varies considerably in saltiness; if using it, start with 1/4 cup (60 ml), increase the water to 9 tbsp (135 ml), and taste the cooked sauce before adding more. Do not substitute dark soy sauce for the entire amount. Its color, texture, and seasoning can change the result substantially.
Choose thighs of similar size so they finish reasonably close together. Large loose flaps of skin can be trimmed, but there is no need to strip the pieces. I do not add salt before browning because the soy sauce already brings plenty. The optional sugar rounds the acidity slightly; it should not turn the dish into a sweet chicken glaze.
Browning the chicken
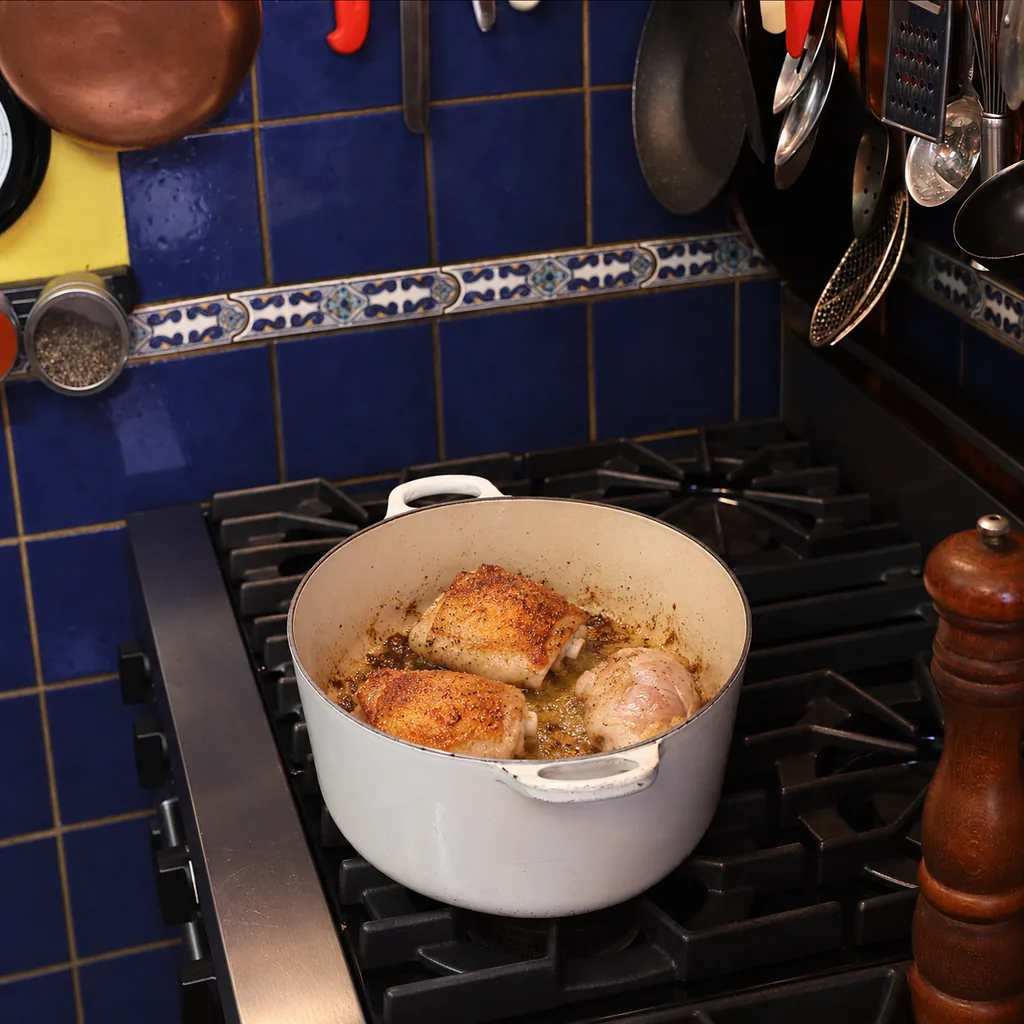
Pat the chicken dry with paper towels and discard the towels. Do not rinse raw poultry. Heat the oil in a wide, heavy pot over medium heat. Place the thighs skin-side down in one layer, working in two batches if necessary. Brown for about 6 to 8 minutes, then turn and cook the second side for 2 minutes. Transfer the pieces to a plate reserved for the partly cooked chicken.
I like to let the skin release naturally before moving a thigh. Constantly lifting it can tear the surface and interrupt browning. If the pot looks dry, lower the heat slightly rather than adding a large quantity of oil. Pour off excess rendered fat, leaving about one tablespoon in the pot. Add the crushed garlic and stir for about 30 seconds, just until fragrant, without letting it turn dark brown.
Building the braise
Add the vinegar, soy sauce, water, bay leaves, peppercorns, and optional sugar. Scrape up the browned cooking juices with a wooden spoon. This is the same basic technique described in how to deglaze a pan. The browned bits add flavor; black, burned patches should be removed rather than worked into the sauce.
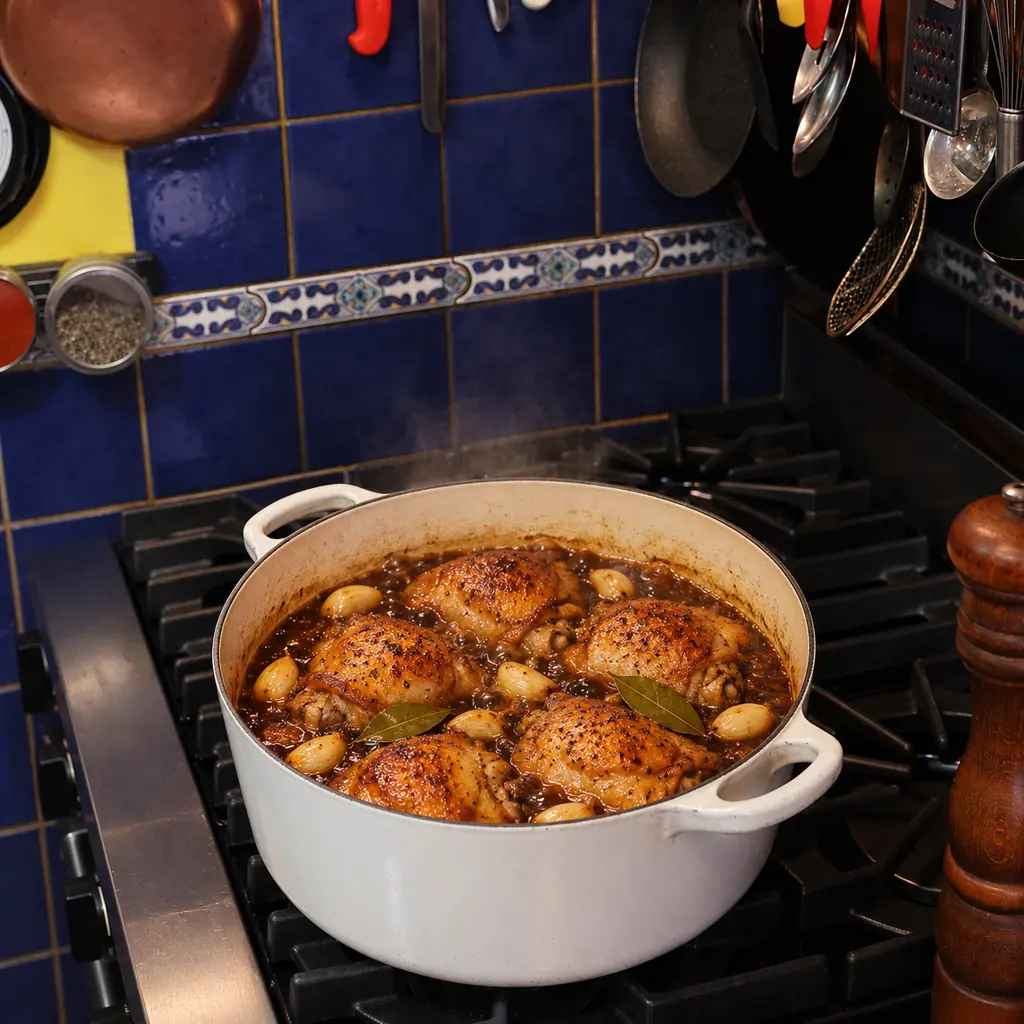
Return the chicken and collected juices to the pot, skin-side up. The liquid should sit around the thighs without completely covering them. Bring to a gentle simmer, cover partially, and cook for 25 to 35 minutes. Adjust the heat so the liquid bubbles steadily but does not boil aggressively. Check occasionally and add a little water if the bottom is getting dry before the chicken is tender.
Check each thigh with a digital thermometer in its thickest part, avoiding the bone. Chicken pieces must reach at least 165°F (74°C), as explained in the chicken internal temperature guide and Health Canada’s cooking temperature chart. Size and tenderness can require additional time beyond that minimum. Keep cooking gently if the meat remains firm around the joint.
Finishing the sauce
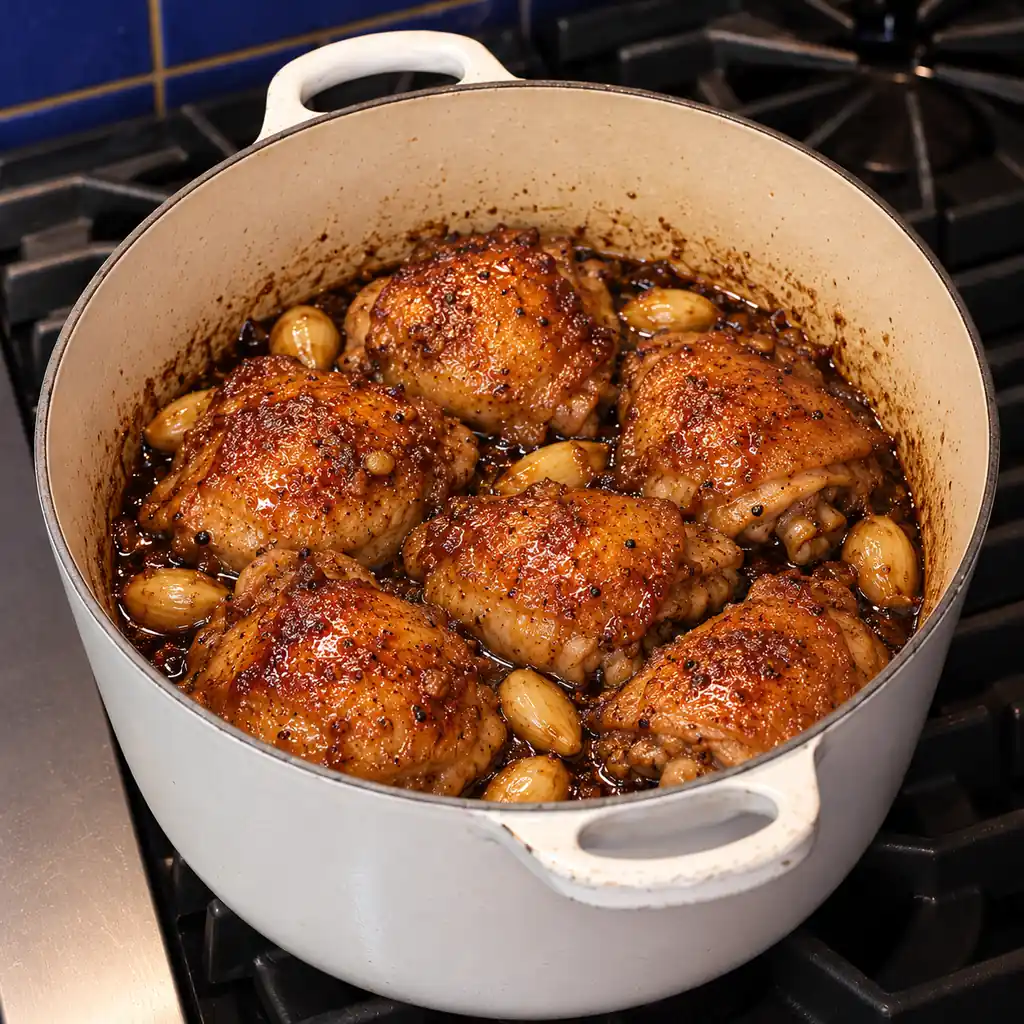
Move the fully cooked chicken to a clean plate. Simmer the sauce uncovered for about 5 to 10 minutes, until it lightly coats a spoon. Skim off visible excess fat if needed. I prefer reducing without the chicken in the pot because the pieces are easier to handle and the sauce can be adjusted without continuing to cook them.
Taste a cooled spoonful. If the sauce is too concentrated or salty, add water a tablespoon at a time. If it tastes weak and watery, continue reducing briefly. A small amount of sugar can soften a particularly sharp edge, but adding sweetness is not the answer to excess salt. Return the chicken and turn it gently in the sauce for a minute. Remove the bay leaves before serving and mention the peppercorns to anyone who would prefer to avoid biting one.
Substitutions and useful limits
Boneless thighs can be used, but they generally need a shorter simmer; begin checking them after about 15 minutes and use the same safe temperature. They will also contribute less body to the sauce. Chicken breasts cook differently and can dry out during a thigh-length braise, so I would choose another recipe rather than promise identical timing.
White vinegar is the straightforward supermarket option in the United States and Canada. Cane vinegar brings a different flavor if available. Do not replace the vinegar with lemon juice and expect the same sauce. For a soy-free version, the seasoning would need to be redesigned; coconut aminos are often sweeter and are not an automatic one-for-one equivalent here. A gluten-free tamari can replace soy sauce if its label and all other ingredients meet your needs.
Serving ideas
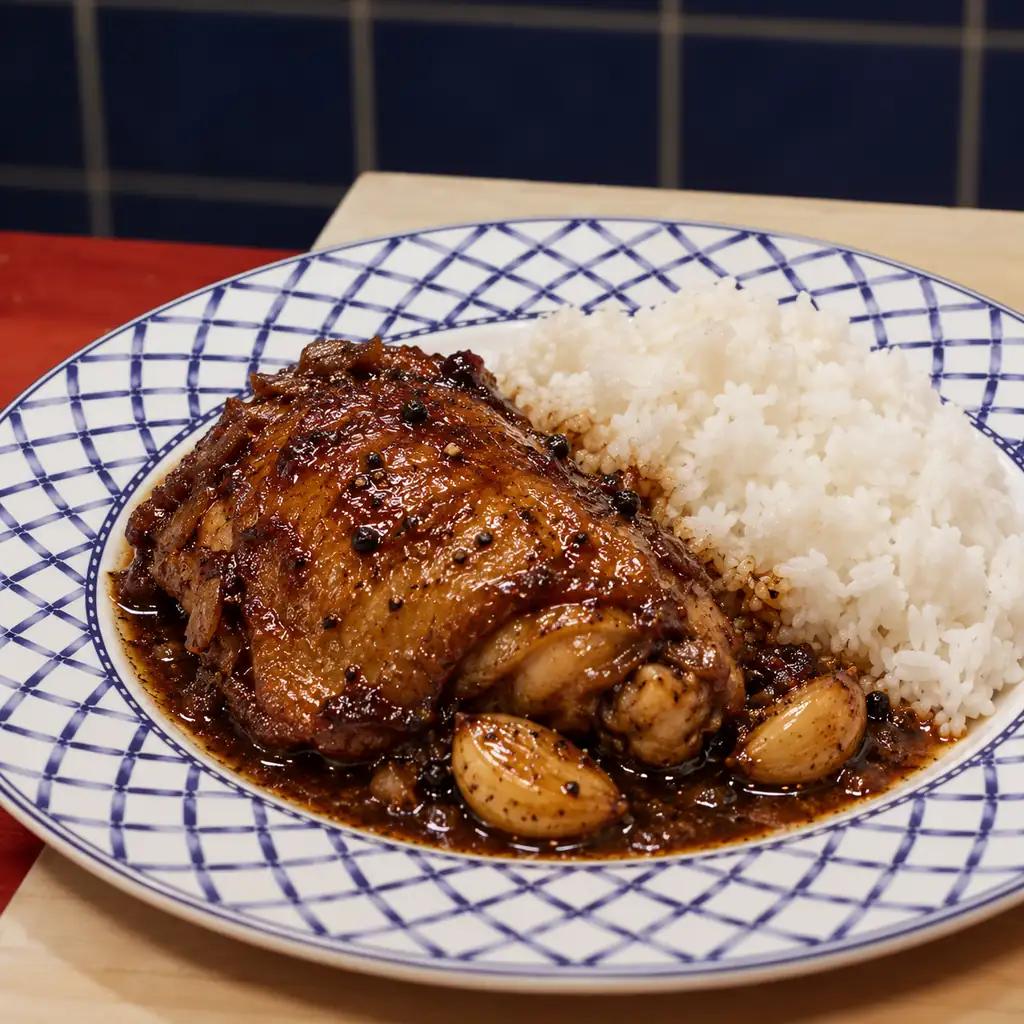
Plain steamed rice leaves room for the sauce, while stovetop rice pilaf offers another rice preparation. I like a restrained portion of sauce first, with more available at the table. For a vegetable side, choose oven roasted mixed vegetables or a small serving of marinated red cabbage salad. A strongly dressed salad needs only a small portion alongside the already tangy chicken.
If you enjoy the gentle braising method, coq au vin and chicken tagine offer two different flavor directions for another meal. They are separate recipes with their own liquid ratios and timings, rather than substitutions for this pot of adobo.
Storage and reheating
Divide leftovers into shallow containers and refrigerate promptly, within two hours. Keep at 40°F (4°C) or colder and use within 2 to 3 days, following Health Canada’s leftover guidance. Freeze portions for up to 2 months for best quality. Vinegar in the sauce does not make cooked chicken safe to store at room temperature.
Thaw in the refrigerator. Reheat the chicken and sauce together with a splash of water, covered, until each piece reaches 165°F (74°C). Bring the sauce to a boil while stirring and checking that it does not scorch. Reheat only the amount needed. Store rice separately, cool it promptly as well, and give it the same care as the chicken.
Frequently asked questions
Should chicken adobo have crispy skin?
The initial browning adds flavor, but the simmer softens the skin. This version is braised chicken with a glossy surface. If crisp skin is your main goal, a roast chicken recipe will suit that texture better. There is no need to describe a simmered result as crunchy.
Can I make the sauce thicker with cornstarch?
You can, but I prefer a short reduction for this recipe. It keeps the cooking sequence simple and makes the concentration easier to taste. If the sauce has already become salty, thickening it will not fix that; dilute first and accept a lighter consistency.
Can I prepare it ahead?
Yes. Cook the chicken completely, cool and refrigerate it promptly in its sauce, then reheat as described above. Add water before reheating if the chilled sauce is firm or concentrated. Do not partly cook chicken one day and finish the braise the next day.
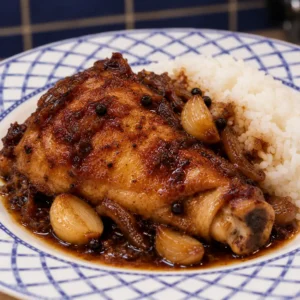
Filipino Chicken Adobo with Soy Sauce and Vinegar
Ingredients
- 6 bone-in skin-on chicken thighs, about 2 1/2 to 3 lb (1.2 to 1.4 kg)
- 1 tbsp 15 ml neutral oil
- 10 garlic cloves peeled and lightly crushed
- 1/2 cup 120 ml cane vinegar or plain white vinegar, 5% acidity
- 1/3 cup 80 ml reduced-sodium soy sauce
- 1/2 cup 120 ml water, plus more as needed
- 2 dried bay leaves
- 1 1/2 tsp about 3 g lightly cracked black peppercorns
- 2 tsp 8 g brown sugar, optional
Instructions
- Pat chicken dry; do not rinse. Heat oil in a wide heavy pot over medium heat. Brown chicken skin-side down for 6 to 8 minutes and on the second side for 2 minutes, working in batches. Transfer to a plate.
- Leave about 1 tbsp fat in the pot. Stir garlic for 30 seconds. Add vinegar, soy sauce, water, bay leaves, peppercorns, and optional sugar. Scrape up browned juices.
- Return chicken and juices, skin-side up. Simmer partially covered for 25 to 35 minutes, adding water if needed. Check each piece reaches at least 165°F (74°C) and continue gently until tender.
- Transfer cooked chicken to a clean plate. Reduce sauce uncovered for 5 to 10 minutes until lightly coating a spoon. Dilute with water if too salty or concentrated. Return chicken and coat for 1 minute. Remove bay leaves and serve.