Easy No-Churn Vanilla Ice Cream with Condensed Milk
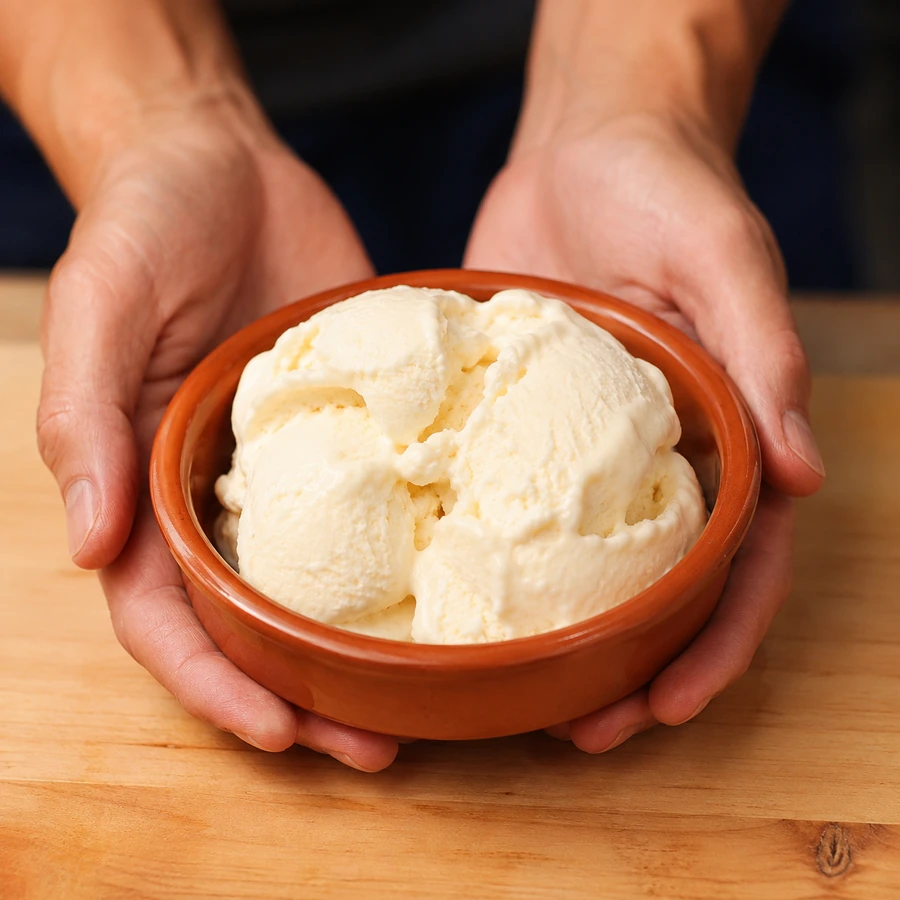
This easy no-churn vanilla ice cream uses sweetened condensed milk and whipped cream to create a smooth, rich frozen dessert without an ice cream maker. The key is to whip the cream until it holds soft, rounded peaks, then fold gently so the mixture stays airy. Avoid blending everything together aggressively, or the ice cream can freeze dense and heavy instead of creamy.
This recipe is based on my original YouTube video, with a few adjustments since publication. In the video, the cream and condensed milk were blended together and stirred during freezing. For a more dependable result at home, I now prefer to whip the cream separately and freeze the finished mixture without stirring.
No-churn ice cream is a frozen dessert made without a traditional custard base or ice cream machine. Sweetened condensed milk provides sugar and milk solids, while whipped cream supplies richness and the air needed for a softer texture. It is a useful recipe for summer, but it also works year-round when you need a simple make-ahead dessert.
{VIDEO}
What Makes This Version Different
This is the simplest ice cream from the original video, made with condensed milk rather than eggs, mascarpone or a cooked custard. It is meant to be creamy and scoopable with very little equipment.
I make it this way because the whipped cream does two jobs at once. It adds the dairy richness expected from vanilla ice cream, and it traps small air bubbles that keep the frozen mixture from becoming one solid, heavy block. An immersion blender can combine cream and condensed milk, but it does not consistently create the same stable volume.
The condensed milk ratio remains close to the original recipe. A standard 10-ounce or 300 ml can works well with approximately 2 cups of whipping cream. There is no need to add granulated sugar because the condensed milk is already heavily sweetened.
This is different from my no-churn dark chocolate ice cream, which has additional cocoa and chocolate solids that change its texture and firmness. It is also richer and more traditional in texture than my cottage cheese protein ice cream, which is designed around cottage cheese rather than whipped cream.
Ingredients You Need
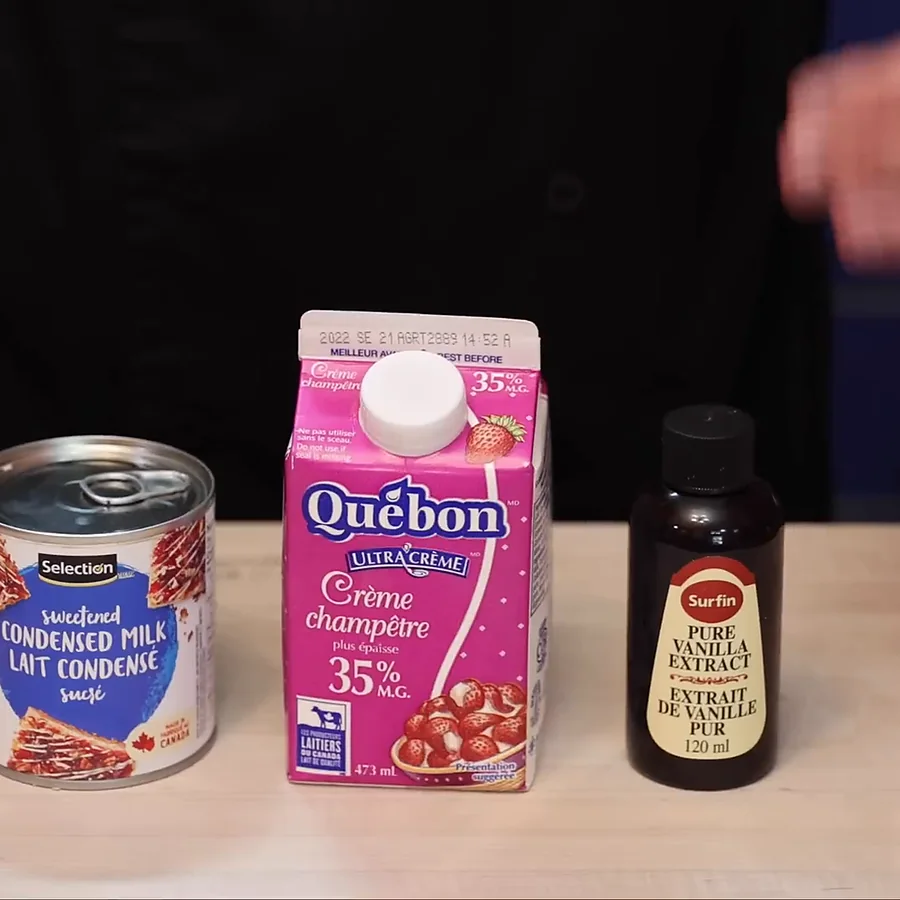
Heavy whipping cream: Use cream containing approximately 35% milk fat. It must be very cold. In Canada, look for cream labelled 35% whipping cream. In the United States, heavy cream or heavy whipping cream works.
Sweetened condensed milk: Use a standard 10-ounce can, which is approximately 1 1/4 cups. Do not confuse it with evaporated milk. Evaporated milk is unsweetened and will not give the same texture or sweetness.
Vanilla extract: Two teaspoons give the ice cream a clear vanilla flavour without overpowering the dairy. Vanilla bean paste can also be used in the same amount.
Salt: A small pinch is optional, but it helps soften the strong sweetness of the condensed milk.
The ingredient list is intentionally short, so the quality and temperature of the cream matter. Very cold cream whips faster and holds its shape better. If the kitchen is warm, chill the mixing bowl and beaters before starting.
Step-by-Step Instructions
1. Chill the equipment
Place a large mixing bowl and the beaters from an electric mixer in the refrigerator for about 10 minutes. Keep the whipping cream refrigerated until the moment you need it.
The cream does not have to be icy, but it should feel thoroughly cold. Warm cream may foam at first and then collapse before reaching proper peaks.
2. Mix the condensed milk base
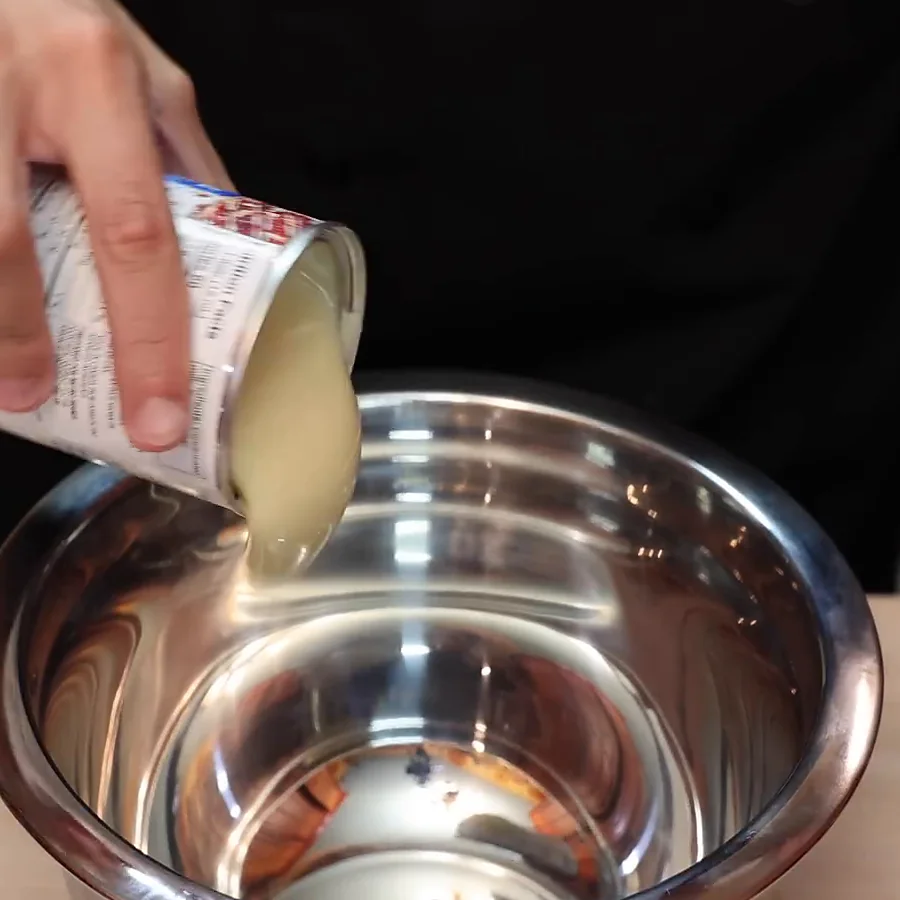
Pour the sweetened condensed milk into a medium bowl. Add the vanilla extract and a small pinch of salt, then stir until evenly combined.
The mixture will be thick and glossy. Make sure the vanilla is distributed before adding the whipped cream because you will want to fold as little as possible later.
3. Whip the cream
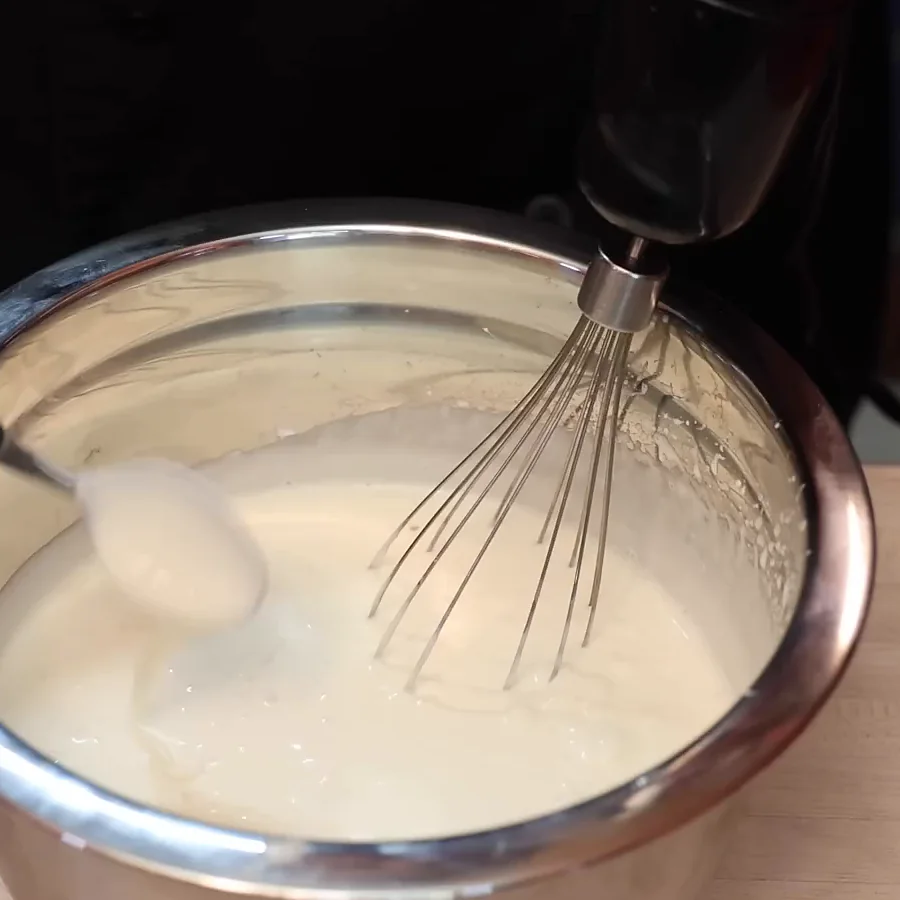
Pour the cold whipping cream into the chilled bowl. Begin mixing at medium speed, then increase the speed as the cream thickens.
Stop when the cream reaches medium-firm peaks. When you lift the beaters, the cream should form a peak that holds its shape but bends slightly at the tip. The surface should look smooth, not grainy.
The mistake to avoid is whipping beyond this point. Overwhipped cream begins to look rough and separated, and eventually starts turning into butter. Check the texture frequently once the beaters begin leaving clear trails in the bowl.
4. Fold the mixtures together
Add approximately one-third of the whipped cream to the condensed milk mixture. Fold it in with a flexible spatula. This first portion lightens the condensed milk and makes the remaining cream easier to incorporate.
Add the rest of the whipped cream in two portions. Slide the spatula down the side of the bowl, scoop underneath and lift the mixture over itself. Rotate the bowl as you work.
What I look for here is a pale, fluffy mixture with no white streaks of cream and no heavy condensed milk sitting at the bottom. Stop folding as soon as it is homogeneous. Excessive mixing pushes out the air you just incorporated.
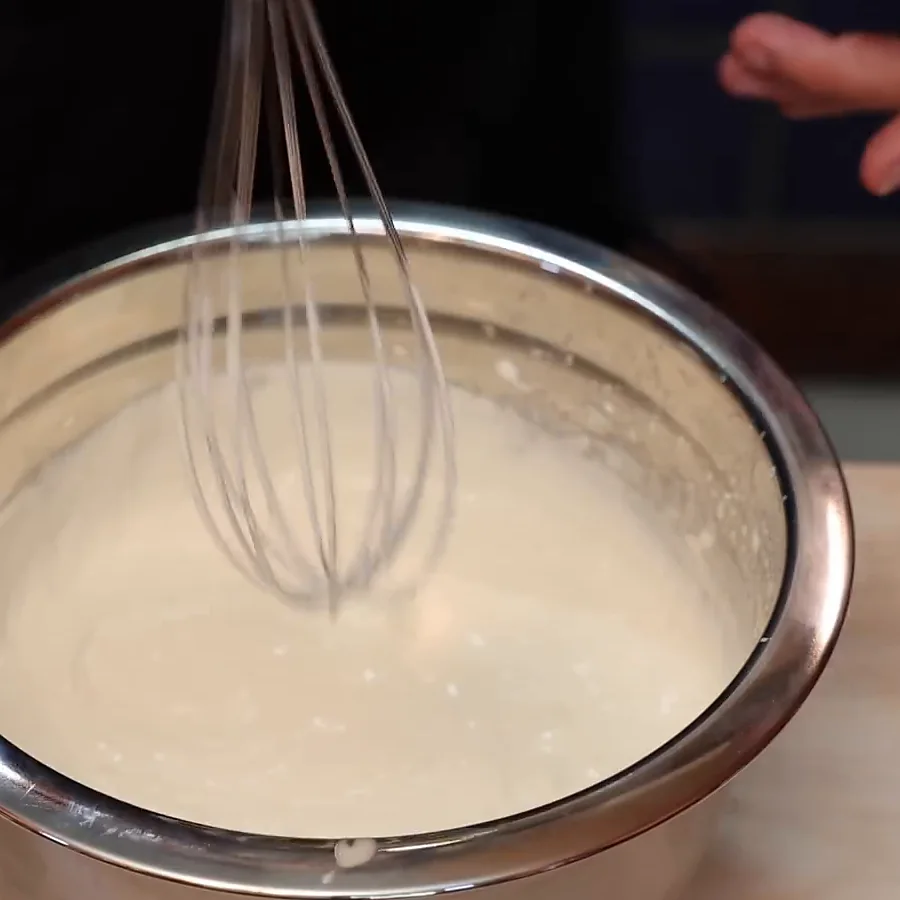
5. Fill the container
Transfer the mixture to a freezer-safe loaf pan or a shallow container with a lid. Spread it evenly without pressing it down.
A shallow container helps the centre freeze at a similar rate to the edges. Press a piece of plastic wrap directly against the surface, then cover the container tightly. The plastic wrap reduces the amount of air touching the ice cream and helps limit surface frost.
6. Freeze without stirring
Freeze for at least 6 hours, preferably overnight. Unlike the method shown in the original video, there is no need to remove and stir this corrected version after two or four hours.
Stirring whipped no-churn ice cream during freezing knocks out air and partially melts the forming structure. Once it is in the freezer, leave it undisturbed until firm.
You know it is ready when the centre is completely frozen and a spoon dragged across the surface leaves a clean mark. It should be firm but not brittle.
7. Temper and serve
Remove the container from the freezer and let it stand at room temperature for 5 to 10 minutes before scooping. The exact time depends on the temperature of the freezer and the depth of the container.
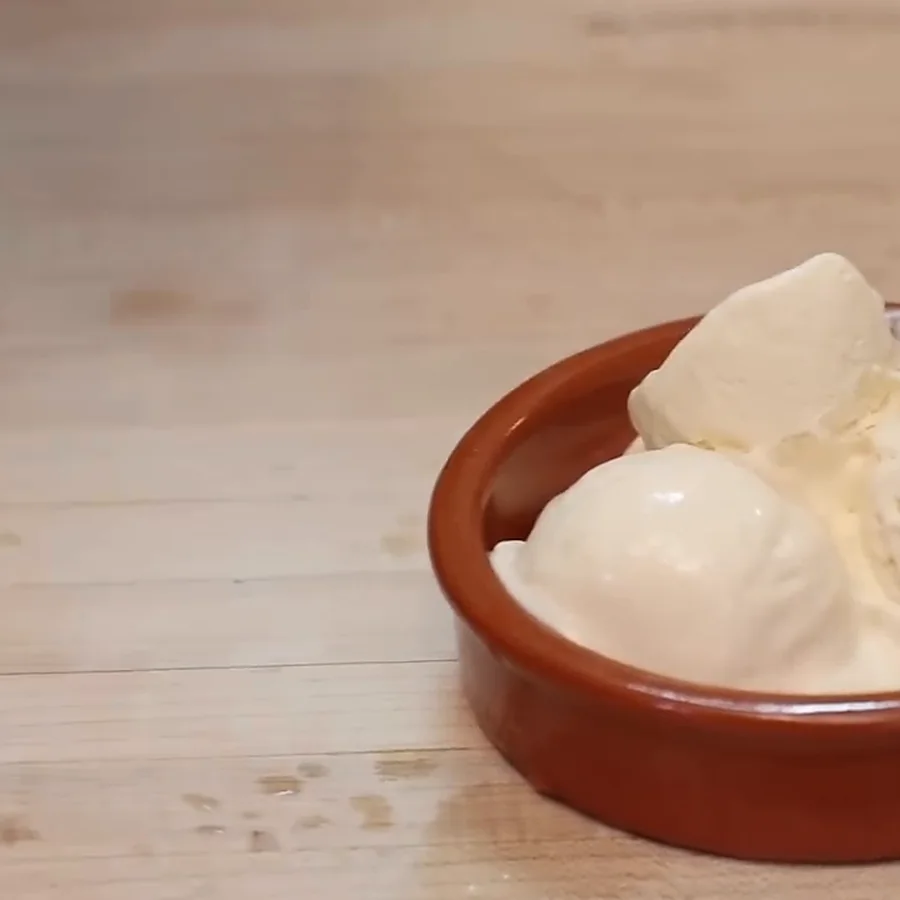
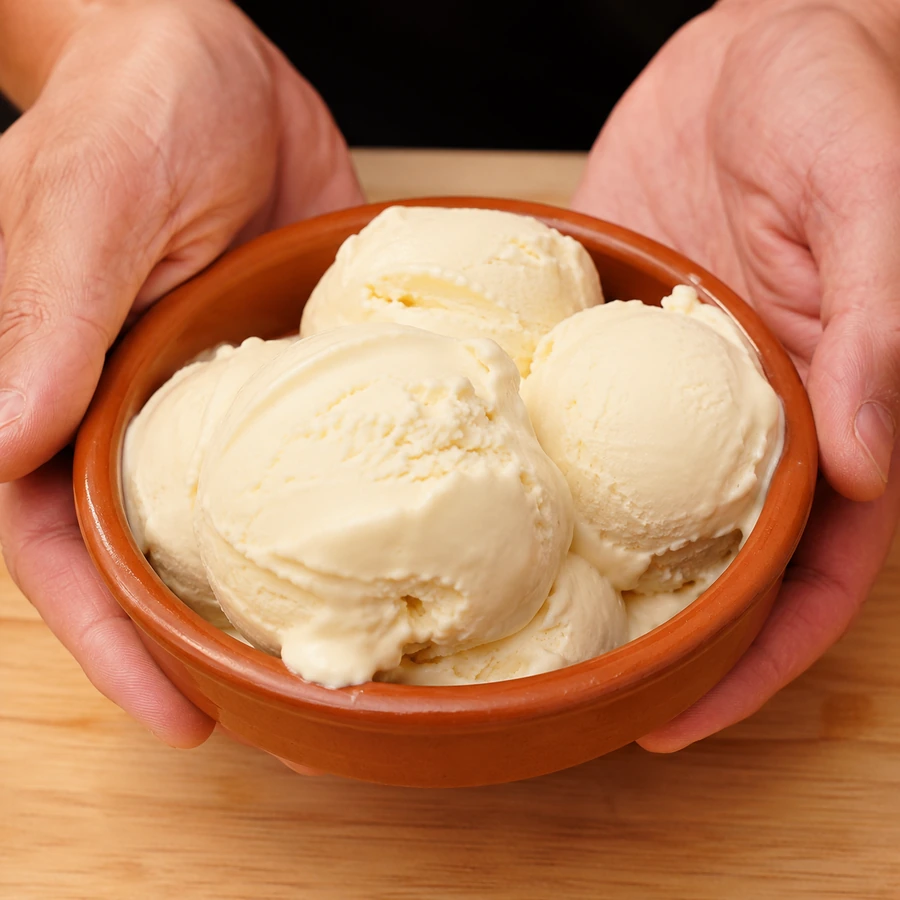
Dip the ice cream scoop in hot water, wipe off the excess and scoop with a steady pulling motion. The ice cream should curl into smooth, creamy scoops rather than breaking into dry chunks.
Chef Tips for a Creamier Texture
Use a wide bowl when folding. A narrow container makes it harder to reach the condensed milk at the bottom without overworking the cream.
Do not reduce the condensed milk too aggressively. It may taste sweet before freezing, but sugar also keeps frozen desserts from becoming excessively hard. Removing a large amount can result in icier, firmer ice cream.
Avoid adding watery ingredients directly to the base. Fresh fruit, unfrozen purées and thin syrups can create icy pockets. For a fruit-forward frozen dessert with a cleaner, lighter texture, make my homemade mango sorbet instead.
This is a rich dessert made with cream and sweetened condensed milk, so modest scoops are usually enough. The recipe makes approximately 10 servings, depending on scoop size.
Serving Ideas
Vanilla ice cream is useful because it can sit beside warm pastries, fruit desserts and chocolate desserts without competing with them.
Serve a scoop over warm apple puff pastry parcels so the edges begin to melt into the pastry. It also pairs well with a slice of flourless chocolate cake, especially when the cake is still slightly warm.
For a French-style dessert plate, add it to orange-flavoured crêpes Suzette. The cold vanilla cream balances the warm citrus sauce. It can also be served beside raspberry clafoutis or used as the filling for a quick ice cream sandwich made with homemade chocolate chip cookies.
Substitutions
Vanilla bean paste can replace vanilla extract in the same quantity. It gives the ice cream visible vanilla specks and a slightly fuller aroma.
You can use either 2 cups or one 473 ml carton of whipping cream. The small difference in quantity will not materially affect the recipe. Using the 473 ml carton will produce a result that is marginally sweeter and richer.
Do not substitute evaporated milk for sweetened condensed milk. They may be sold in similar cans, but evaporated milk contains no added sugar and does not provide the same concentration of milk solids.
Do not replace the whipping cream with half-and-half, coffee cream or low-fat milk. These products do not contain enough fat to whip into a stable foam.
The pinch of salt can be omitted. It does not affect freezing, but it helps balance the condensed milk.
FAQ
Why did my no-churn ice cream freeze hard?
A home freezer is colder than the serving temperature used in many ice cream shops, so some firmness is normal. Let the container stand at room temperature for 5 to 10 minutes before scooping.
The ice cream may also become harder if too much condensed milk was removed, the cream was not whipped sufficiently, or the mixture was overfolded and lost most of its air.
Can I make this without an electric mixer?
Yes, but whipping 2 cups of cream by hand takes effort. Use a large cold bowl and a balloon whisk. Whisk until the cream holds medium-firm peaks.
An immersion blender is not the best replacement because it mainly blends and emulsifies. It does not reliably produce the stable whipped volume needed for the lightest result.
Should I stir the ice cream while it freezes?
No. This version relies on air incorporated into the whipped cream. Stirring during freezing can deflate it and make the texture denser.
How long does it keep?
Store it tightly covered in the freezer for up to two weeks for the best texture. It remains safe longer when continuously frozen, but surface ice crystals and freezer flavours can become more noticeable.
Can I add cookies or chocolate?
Dry mix-ins can be folded in after the cream and condensed milk are combined. Crushed homemade Oreo-style cookies are a natural option.
Keep the quantity moderate so the base remains easy to fold. Large amounts of heavy mix-ins can settle toward the bottom before the ice cream freezes.
Is this the same as custard ice cream?
No. Traditional custard ice cream is usually made with egg yolks, milk or cream and sugar, then cooked before churning. This version skips both cooking and churning.
For another creamy, old-fashioned dairy dessert, try my French rice pudding or traditional crème caramel.
Suggested Posts
For more cold and creamy desserts, make the dark chocolate no-churn ice cream or the lighter-style cottage cheese frozen dessert.
For fruit desserts that work well with a vanilla scoop, try the fresh strawberry tiramisu or the raspberry clafoutis.
For a more elaborate plated dessert, serve it with chocolate and fruit crêpes with hazelnut ganache. For something casual, sandwich it between banana chocolate chip muffins cut into small rounds, or serve it with freshly baked chocolate chip cookies.
Easy No-Churn Vanilla Ice Cream with Condensed Milk
Ingredients
- 2 cups cold heavy whipping cream
- 1 1/4 cups sweetened condensed milk
- 2 teaspoons vanilla extract
- 1 small pinch salt
Instructions
- Chill a large mixing bowl and the mixer beaters for 10 minutes.
- Stir the condensed milk, vanilla and salt together in a separate bowl.
- Whip the cold cream until it forms smooth medium-firm peaks.
- Fold one-third of the whipped cream into the condensed milk mixture.
- Gently fold in the remaining whipped cream in two additions.
- Transfer the mixture to a shallow freezer-safe container.
- Press plastic wrap against the surface and cover tightly.
- Freeze without stirring for at least 6 hours or overnight.
- Let stand for 5 to 10 minutes before scooping.