The Ultimate Homemade Timbits Recipe: Canadian Donut Holes Done Right
If you have ever stepped foot in Canada, you know that the “box of holes” is a national treasure. But as we say in my kitchen, why buy them when you can make them better? These are not just any donut holes; these are the Grand Chef Timbits. After seeing the reaction to my YouTube video, I decided to refine the proportions for this blog to ensure you get that perfect, pillowy bounce every single time. It is super nickel!

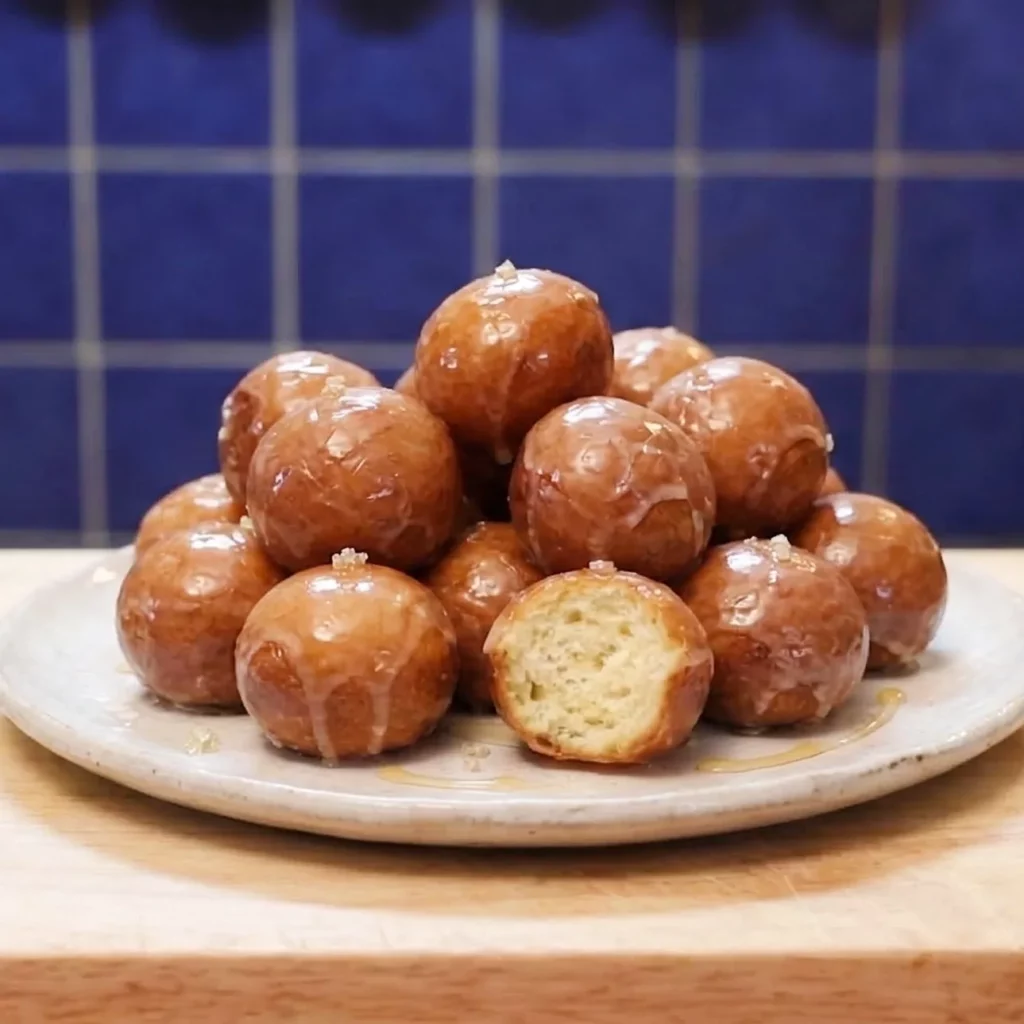
Timbits are bite-sized, deep-fried dough balls, traditionally served as the “centers” of donuts. They are iconic in Canadian culture, served in various glazes and coatings, and are the ultimate versatile snack for a weekend brunch, a holiday party, or a cozy winter evening. Unlike heavy, cakey versions, this recipe focuses on a light yeast dough that provides an airy interior and a delicate, golden crust.
Why This Recipe Works: The Chef’s Insight
Most people struggle with homemade donuts because the dough is either too heavy or too greasy. I make this recipe using a yeast-leavened dough rather than a “cake” style because I want that specific elasticity. When you bite into a real Timbit, it should spring back. By using a controlled fermentation and frying at exactly 350°F, we create a seal that prevents the oil from soaking into the center.
This recipe is a hearty comfort food, perfect for the family. While it is certainly an indulgence, making them at home allows you to use high-quality fats and fresh milk, avoiding the preservatives found in the commercial boxes. It is a much “cleaner” version of the classic.

The Science of the Perfect Donut Hole: Yeast vs. Cake
In the world of deep-fried dough, there are two distinct paths. “Cake donuts” rely on chemical leaveners like baking powder. They are faster to make but produce a crumbly, dense texture. While I love a good moist and easy apple cake, for a Timbit, density is the enemy.
The “Yeast Donut” (or raised donut) uses fermentation. This creates CO2 bubbles trapped in a gluten web, resulting in that hollow, airy structure we crave. If you have ever mastered my soft and fluffy homemade brioche, you already understand the importance of gluten development. Without it, the donut hole won’t hold its shape in the oil; with it, it becomes a light, bouncy delight.
Mastering the Technique: Step-by-Step
1) The Foundation: Mixing and First Rise
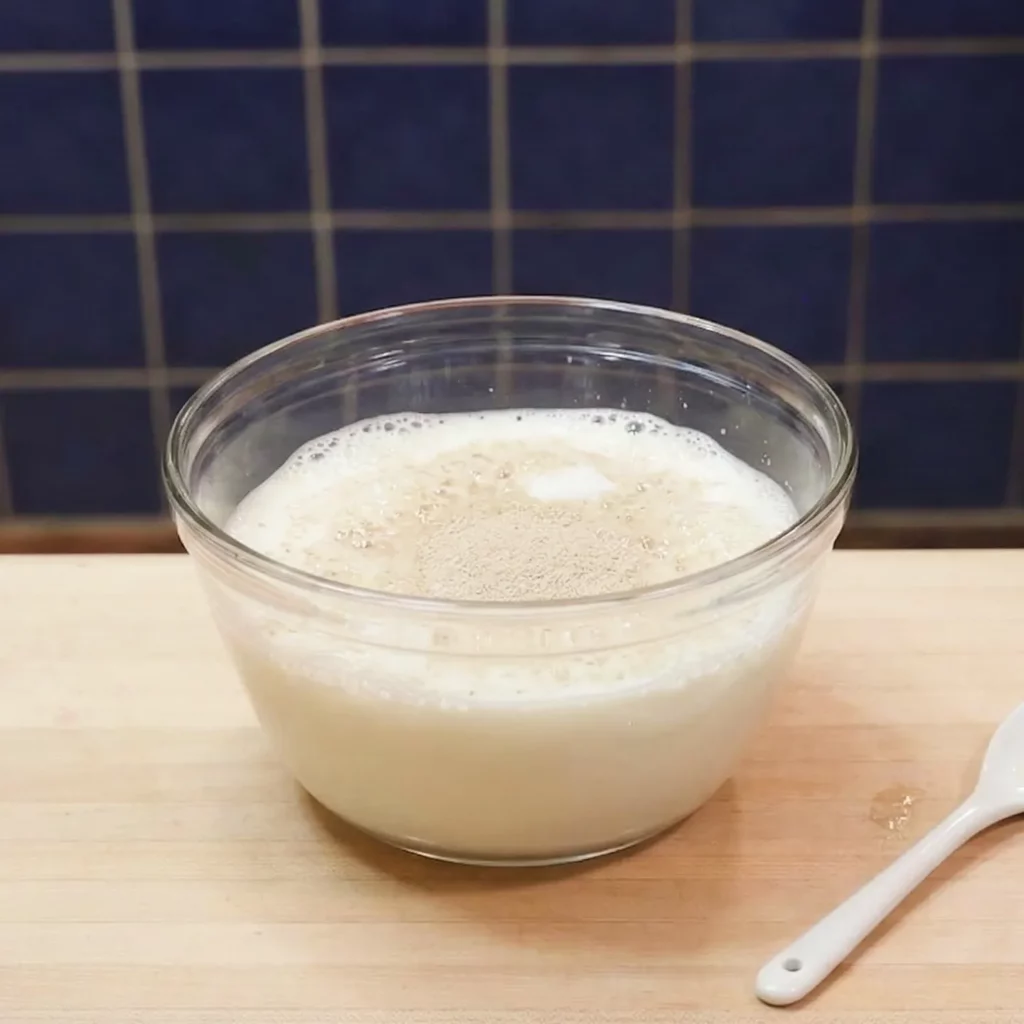
The journey to a “super nickel” result begins with high-quality ingredients. We start by waking up the yeast in warm milk. Not hot—if the milk burns your finger, it will kill the yeast and your dough will be as flat as a board. Mix in your sugar, egg, and melted butter.
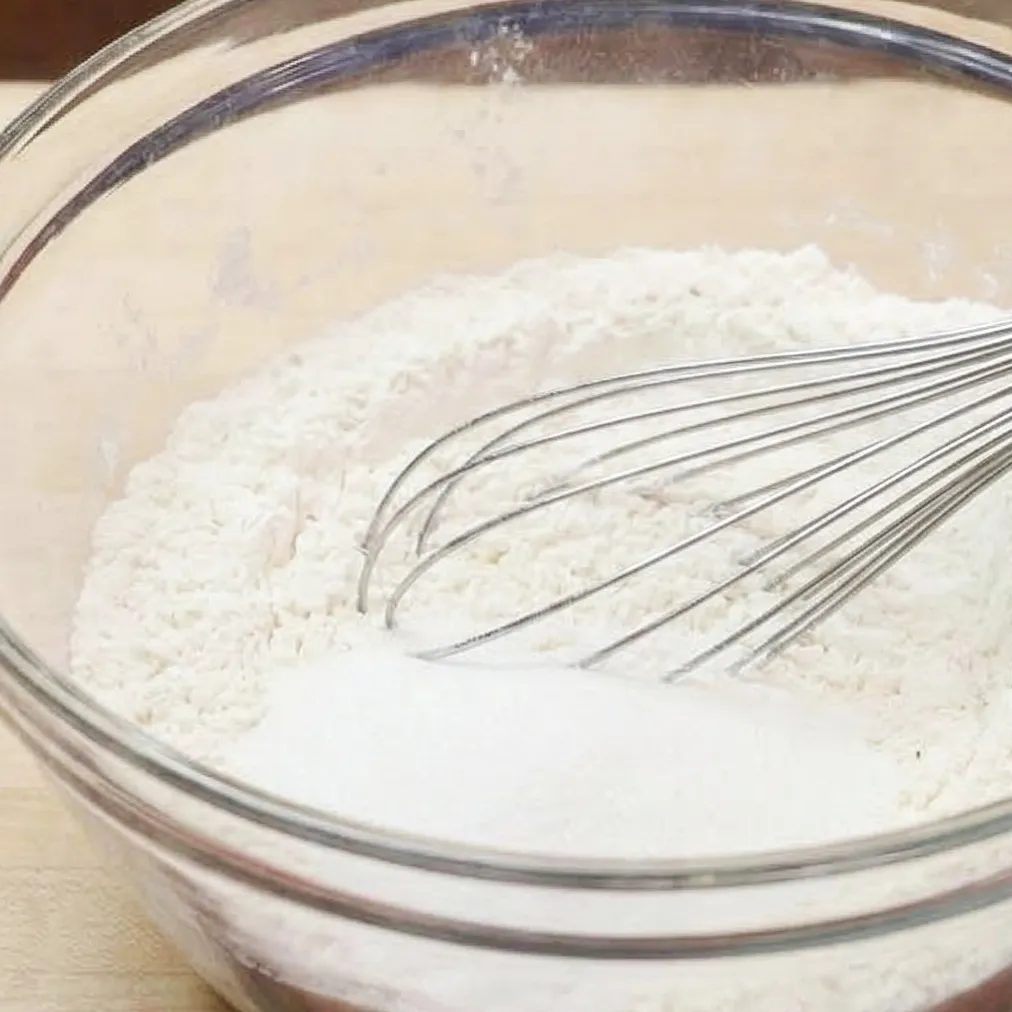
When you incorporate the flour, do it gradually. I always suggest doing this by hand to feel the dough’s resistance. It should be smooth, slightly tacky, but not sticking to your fingers like glue. This is where the magic happens. Cover it and let it rest in a warm, draft-free spot. It needs to double in size, which usually takes about an hour.
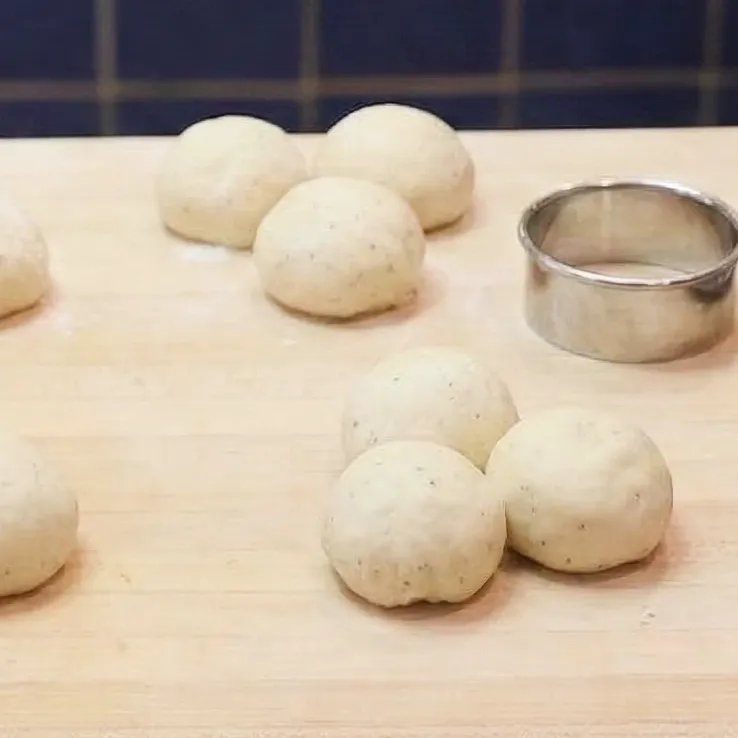
2) Shaping the Masterpieces
After the first rise, punch the dough down—hop!—to release the excess air. This isn’t just for fun; it redistributes the yeast so the second rise is more even. Roll the dough out on a lightly floured surface to about 3/4 inch thickness.
Now, you have two choices for shaping:
- The Cutter Method: Use a small 1-inch round cutter to stamp out perfect circles.
- The Hand Method: Cut the dough into small squares and roll them quickly between your palms.
Remember, these will expand significantly in the fryer. Aim for the size of a large marble. Once shaped, let them rest on a tray for another 20–30 minutes. This “second proof” is the secret to the airy interior. If you skip this, your Timbits will be heavy.
3) The Golden Fry: Heat Control is Everything
This is where many home cooks fail. You cannot guess the temperature of the oil. If it’s too cold, the dough will act like a sponge and soak up grease. If it’s too hot, the outside will burn before the inside is cooked through.
Use a thermometer to hit 350°F (175°C). Drop the balls in carefully. They should immediately bob to the top. Use a slotted spoon to keep them moving; they like to roll around! It takes about 2 to 3 minutes total to reach that perfect mahogany gold. Drain them on a wire rack or paper towels.
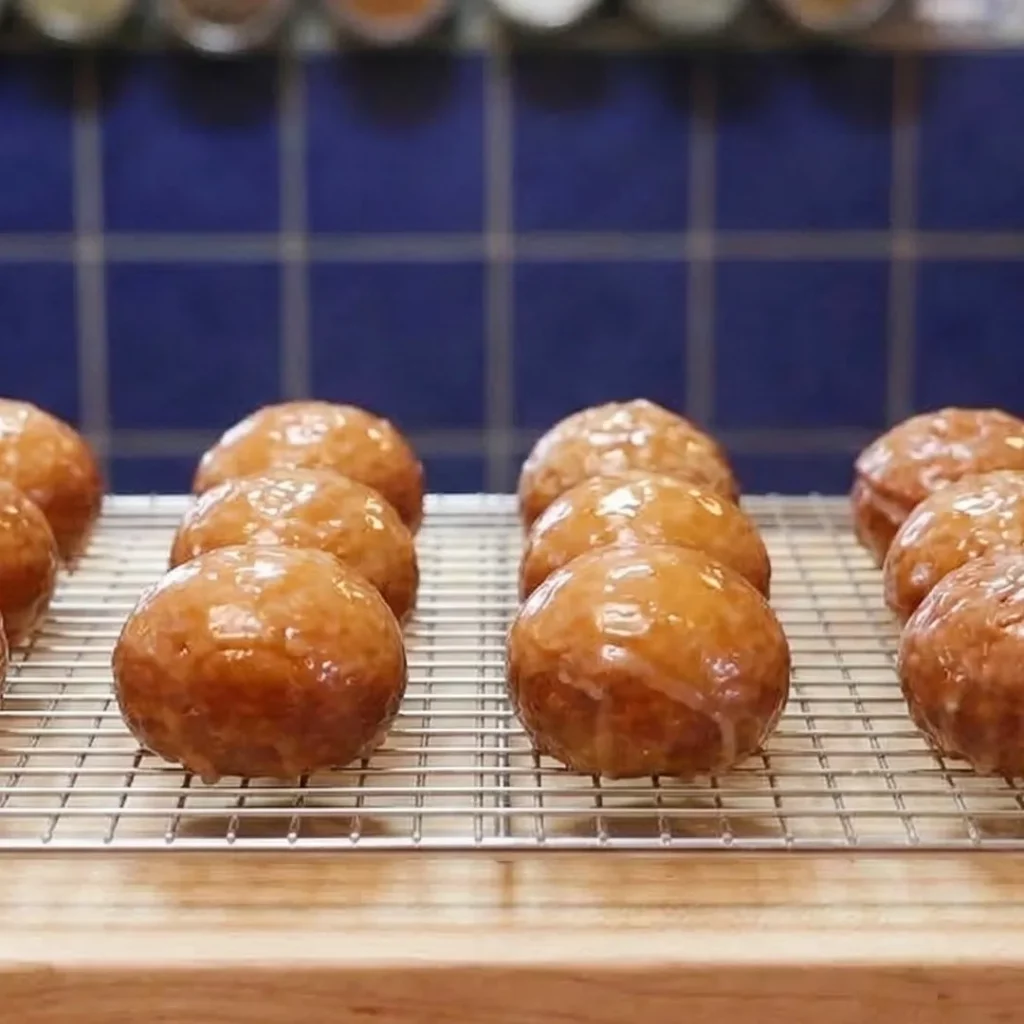
4) The Glaze: The Finishing Touch
A Timbit without a glaze is just a ball of bread. For the classic “Honey Dip” vibe, we whisk together powdered sugar, milk, and a touch of honey. The trick is to dip them while they are still warm—not piping hot, but warm enough to let the glaze flow smoothly and then set into a crackly finish.
What to Serve with Your Timbits
Timbits are the ultimate social snack. In Canada, we eat them at any time of day, but they truly shine as part of a larger spread. If you are hosting a weekend gathering, serve them alongside a classic eggs benedict with hollandaise for a perfect balance of salt and sugar.
For a true “Grand Chef” dinner, serve a hearty main like ultra-crispy beer battered fish and chips and finish the night with a tray of warm, glazed donut holes. If you are in the mood for something truly comforting, they are the perfect companion to a creamy banana hot chocolate or even a bowl of creamy old-fashioned rice pudding if you are feeling extra indulgent.
If you are prepping for a party, you can even serve them as a sweet side to a hearty homemade poutine. It’s the ultimate Canadian experience!
Troubleshooting: Why Timbits Go Wrong
- They are Oily: Your oil temperature dropped. Always let the oil come back to 350°F between batches.
- They are Tough: You over-kneaded the dough or used too much flour. The dough should be soft.
- They are Pale: You crowded the pot. Too many Timbits at once will drop the oil temperature and prevent browning.
- The Glaze Won’t Stick: Your Timbits were too cold when you dipped them. Reheat them slightly if needed.

Substitutions and Variations
- The Coating: Don’t stop at honey. Toss them in cinnamon sugar, or dip them in a chocolate ganache. You can even use the glaze from my Paris-style almond pear tart for a more sophisticated fruit-based finish.
- The Oil: While Canola is standard, Peanut oil provides a higher smoke point and a cleaner taste.
- Lighter Option: If you want a version that skips the deep-frying, check out my recipe for air fryer donut holes. They aren’t exactly the same as the fried ones, but they are a great lighter alternative.
- Dairy-Free: You can use oat milk and a neutral oil in the dough if you need to avoid dairy.
FAQ (Frequently Asked Questions)
Can I make the dough in a bread machine?
Absolutely. Use the “Dough” setting and then proceed to the shaping and second rise steps. It’s a great way to save time.
Can I freeze Timbits?
It is better to freeze the dough balls after the second rise but before frying. Fry them directly from frozen, adding an extra minute to the cook time. If you freeze them after frying, they tend to get soggy when thawed.
How do I get them perfectly round?
The hand-rolling technique is best. If they look a bit rustic, don’t worry—it proves they are homemade!
Suggested Posts & Pairings
- For another deep-fried Canadian classic, try my authentic Canadian beaver tails.
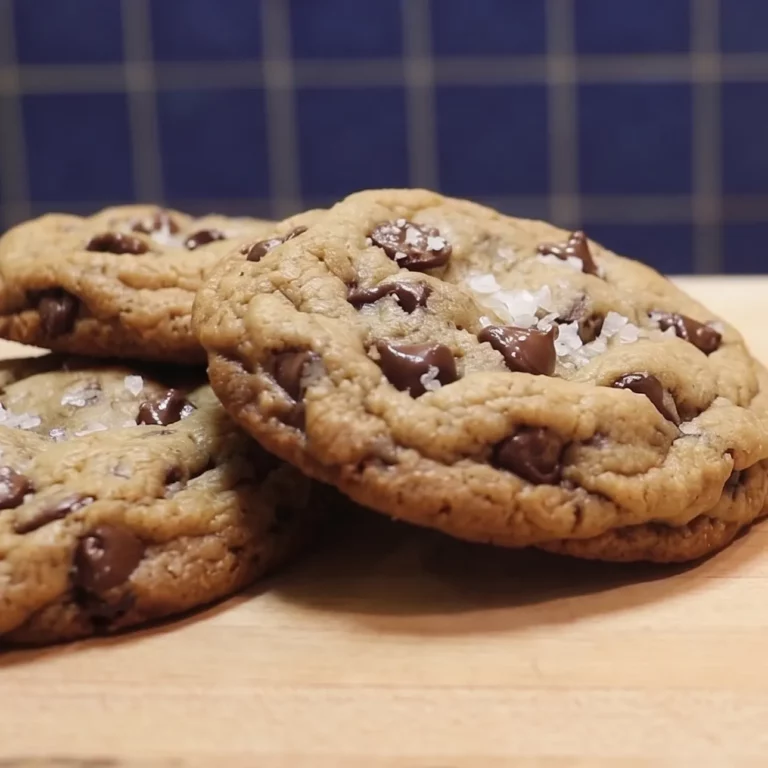
- If you love baking, my chewy chocolate chip cookies are a fan favorite.
- For a show-stopping dessert, try the San Sebastian burnt cheesecake.
- Need a technique refresher? Learn how to make a failproof homemade mayonnaise for your savory dishes.
The Ultimate Homemade Timbits Recipe: Canadian Donut Holes Done Right
Ingredients
The Yeast Dough
- 4 Tasses All-purpose flour
- 1 Tasse Whole milk lukewarm
- 1/4 Tasse Granulated sugar
- 1 large Egg
- 1/4 Tasse Unsalted butter melted
- 2 1/4 tsp Active dry yeast 1 packet
- 1/2 tsp Salt
- 1 tsp Vanilla extract
- 1 Quart Neutral oil for frying Canola or Peanut
The Honey Dip Glaze
- 2 Tasses Powdered sugar
- 1/4 Tasse Milk
- 1 tbsp Honey
- 1 tsp Vanilla extract
Instructions
- Activate Yeast: In a small bowl, whisk lukewarm milk, 1 tablespoon of the sugar, and the yeast. Let it sit for 5-10 minutes until foamy.
- Combine: In a large mixing bowl, whisk the remaining sugar, egg, melted butter, vanilla, and salt. Pour in the yeast mixture.
- Knead: Gradually add the flour. Knead by hand for 8-10 minutes (or 5 minutes in a mixer) until the dough is smooth and springs back when poked.
- First Rise: Place dough in a greased bowl, cover with a damp cloth, and let rise in a warm spot for 1 hour (until doubled).
- Shape: Punch down the dough. Roll out to 3/4″ thickness. Cut into 1″ pieces and roll into small balls.
- Second Rise: Place on a tray, cover, and let rise for 20-30 minutes. They should feel light and puffy.
- Fry: Heat oil to 350°F. Fry 5-6 Timbits at a time for 2-3 minutes, turning frequently until deep golden.
- Glaze: Whisk glaze ingredients until smooth. Dip warm Timbits into the glaze and let them dry on a wire rack.
Notes
Substitutions and Variations
- The Coating: Don’t stop at honey. Toss them in cinnamon sugar, or dip them in a chocolate ganache. You can even use the glaze from my Paris-style almond pear tart for a more sophisticated fruit-based finish.
- The Oil: While Canola is standard, Peanut oil provides a higher smoke point and a cleaner taste.
- Lighter Option: If you want a version that skips the deep-frying, check out my recipe for air fryer donut holes. They aren’t exactly the same as the fried ones, but they are a great lighter alternative.
- Dairy-Free: You can use oat milk and a neutral oil in the dough if you need to avoid dairy.
FAQ (Frequently Asked Questions)
Can I make the dough in a bread machine? Absolutely. Use the “Dough” setting and then proceed to the shaping and second rise steps. It’s a great way to save time. Can I freeze Timbits? It is better to freeze the dough balls after the second rise but before frying. Fry them directly from frozen, adding an extra minute to the cook time. If you freeze them after frying, they tend to get soggy when thawed. How do I get them perfectly round? The hand-rolling technique is best. If they look a bit rustic, don’t worry—it proves they are homemade!🔗 Useful Links
🛒 Michel Dumas Shop : Explore our kitchen essentials, including aprons and knives.
🌐 Linktree : Access all our important links in one place.
📱 YouTube | Instagram | Facebook | TikTok : Follow us for the latest recipes and culinary tips.