Homemade Strawberry Jam Without Pectin
Homemade strawberry jam is one of those recipes that looks simple, but the details matter. This version is based on my YouTube video for strawberry jam, with a few adjustments since publication to make the written recipe clearer and easier to reproduce at home. The base stays the same: ripe strawberries, sugar, lemon juice, a slow cook, and proper hot-water processing.
This is an old-fashioned strawberry jam without added pectin. It is softer and more fruit-forward than a commercial-style jam, with a deep strawberry flavour and a glossy texture. I make it this way when strawberries are at their best, but it is also the kind of recipe that gives you a little summer in the pantry for toast, crêpes, cakes, and simple desserts all year.
The mistake to avoid is relying only on the clock. One hour is a good guide, but the real cues are the thickness, the shine, and the temperature. The jam should look syrupy at first, then slowly become glossy, heavy, and spoon-coating.
What Makes This Recipe Different
This is not a quick pectin jam where everything boils hard for one minute and sets firm right away. It is a slower, more traditional strawberry preserve. The strawberries cook down with sugar and lemon juice until the water evaporates and the fruit becomes concentrated.
I prefer this method because the strawberry flavour stays very clear. You do not get that stiff, almost jelly-like texture. Instead, you get a jam that spreads nicely, with a little movement in the jar and a natural fruit texture.
Since the original video, I would write the canning step more precisely. In the video, I tighten the rings again after cooling a little. For the written version, I recommend letting the jars cool upright and undisturbed for 24 hours without retightening the bands. That is cleaner, safer, and easier for readers to follow.
If you like strawberry desserts, this jam is a good base to keep around. It works on warm toast, but also in desserts like strawberry jam apple tart or spooned over homemade vanilla ice cream.
Ingredients You Need
The ingredient list is short, so quality matters.
Use ripe strawberries with good aroma. If the berries smell sweet before cooking, the jam will taste much better after cooking. Avoid underripe berries because they give a flatter flavour. Very overripe berries can work, but trim away any soft or damaged parts.
The sugar does more than sweeten. It helps the jam thicken, keeps the colour brighter, and gives the preserve its classic texture. This recipe uses less sugar than many old jam formulas, so the result is more fruit-forward and slightly softer.
Lemon juice balances the sweetness and helps the jam set. In the video I use one lemon, but for a written recipe I prefer to give a measured range so the result is more consistent.

For more fruit desserts, this jam sits in the same family as fresh strawberry tiramisu, strawberry puff pastry parcels, and homemade strawberry sorbet, but it has a different purpose. Those are desserts to serve right away. This is a preserve you make once and use for weeks or months.
Step-by-Step Instructions
Prepare the jars
Start with proper canning jars and new lids. Wash the jars, keep them hot, and prepare your lids according to the manufacturer’s instructions. You want the jars hot when the hot jam goes in, so there is no thermal shock.
Have your canning funnel, clean towel, ladle, jar tongs, and water-bath canner ready before the jam is finished. Jam waits for nobody once it is hot and ready.
Prepare the strawberries
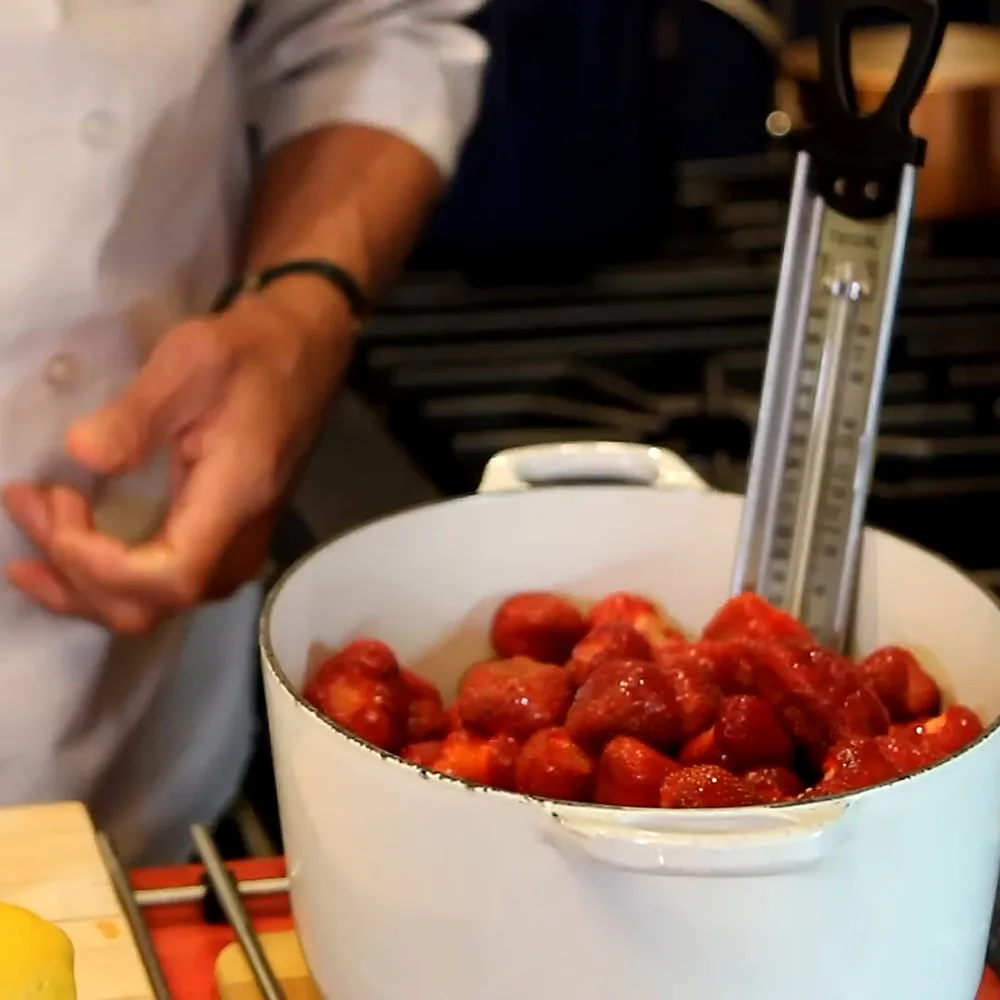
Wash the strawberries, remove the stems, and drain them well. Put them in a large heavy-bottomed pot. A wide pot is better than a narrow one because evaporation is faster and more even.
Add the sugar over the berries. Squeeze in the lemon juice through a small strainer so no seeds fall into the pot.
At this stage, it looks like a lot of fruit and sugar. That is normal. Once the heat starts, the strawberries collapse and release their juice quickly.

Start cooking
Place the pot over medium-high heat and stir from the bottom. Bring the fruit from the bottom to the top so the sugar dissolves evenly and nothing catches.
As the berries soften, crush them lightly with a potato masher. I do not crush them into a purée. A little texture is better. What I look for here is fruit that is broken down enough to spread, but not so smooth that it loses character.
Once the mixture comes to a boil, foam will rise to the surface. Skim it with a spoon. This gives the finished jam a cleaner look and a more translucent finish.

Cook until thickened
Lower the heat slightly and continue cooking at a steady, controlled boil. Stir often, especially near the end. The jam should bubble actively, but it should not spit violently all over the stove.
In the video, the cooking takes about one hour. Keep that as a guide, not a rule. The jam is ready when it reaches about 217°F to 221°F, depending on your pot, fruit, and evaporation. You can also use the cold-plate test: place a spoonful on a chilled plate, wait a moment, then push it with your finger. If it wrinkles lightly and does not run like syrup, it is ready.
You know it is close when the bubbles become slower and heavier. The spatula should leave a brief trail at the bottom of the pot, and the jam should fall from the spoon in a thicker sheet rather than a thin stream.

Fill the jars
Ladle the hot jam into hot jars, leaving about 1/4 inch of headspace. Wipe the rims carefully. Even a little sugar or jam on the rim can interfere with the seal.
Place the lids on the jars and screw the bands on fingertip-tight. Do not overtighten. Air needs to escape during processing.

Process and cool
Place the filled jars in the boiling-water canner. Make sure the jars are covered by at least 1 inch of water. Bring the water back to a full boil, then process for 15 minutes.
When the time is done, turn off the heat, remove the lid, and let the jars sit in the canner for 5 minutes. Lift them out without tilting and place them upright on a towel.
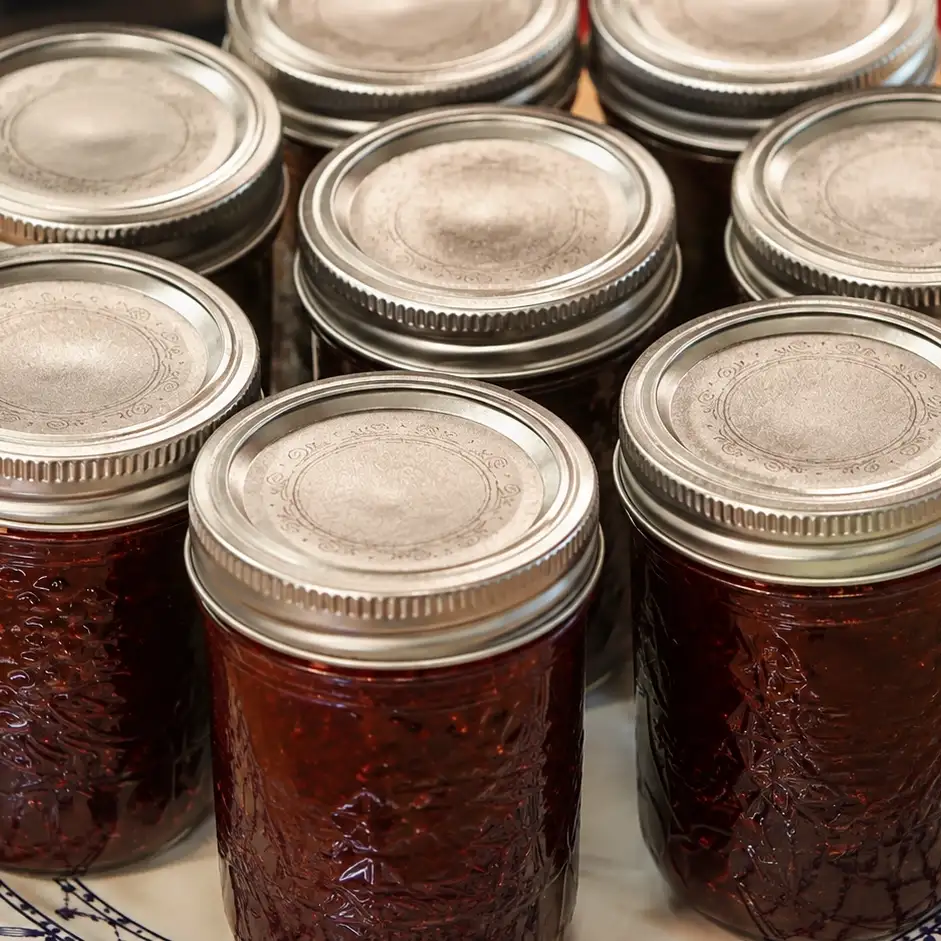
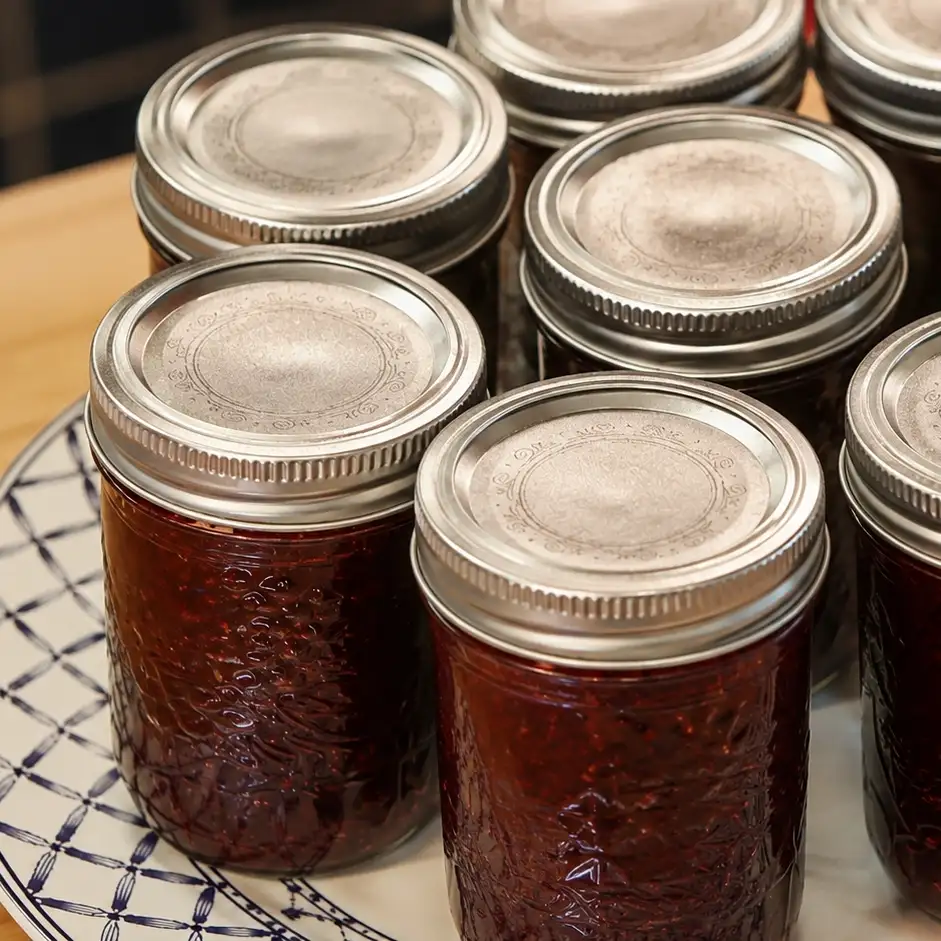
Let the jars cool undisturbed for 24 hours. Do not retighten the bands while the jars are cooling. After 24 hours, check the seals. Any jar that did not seal should go in the refrigerator and be used first.

How to Use This Strawberry Jam
The obvious answer is toast, and honestly, that is still one of the best ways to eat it. A warm slice of homemade white bread with butter and strawberry jam is hard to beat.
It is also excellent with easy homemade crêpes, especially if the jam is warmed slightly so it loosens. For a richer breakfast, use it with soft homemade brioche or spoon a little into plain yogurt.
For dessert, this jam can replace fruit compote in simple cakes, bars, or pastry fillings. It works especially well with vanilla, almond, lemon, and apple. Try it beside apple crisp with oats or with a simple slice of moist apple cake.
Substitutions
You can use frozen strawberries if fresh ones are not in season. Thaw them first and include their juices in the pot. The cooking time may be a little longer because frozen berries often release more water.
For a firmer jam, use commercial pectin and follow the pectin package instructions exactly. Do not simply add pectin to this version without adjusting the sugar and boiling method, because pectin recipes work with specific ratios.
You can replace part of the strawberries with raspberries for a slightly sharper flavour. I would not replace too much at first. Start with about one quarter raspberries and three quarters strawberries.
Do not reduce the sugar heavily if you plan to store the jars at room temperature. If you want a very low-sugar fruit spread, make it as a refrigerator jam or freezer jam instead.
For another preserving-style recipe on the site, the method is different but the pantry logic is similar to homemade pickled beets: clean jars, hot contents, careful filling, and patience while everything cools.
FAQ
Can I make this jam without a thermometer?
Yes, but a thermometer makes the recipe easier. Without one, use the cold-plate test. Chill a small plate in the freezer, spoon a little jam onto it, wait briefly, then push it with your finger. If it wrinkles and holds instead of running like syrup, the jam is ready.
Why is my strawberry jam runny?
It was probably not cooked long enough, or the berries were very watery. Strawberry jam without added pectin is naturally softer than a pectin jam. If it is too loose after cooling, use it as a sauce for yogurt, ice cream, pancakes, or desserts.
Can I double the recipe?
I do not recommend doubling jam unless you are experienced. A larger batch takes longer to evaporate and often sets less reliably. Make two separate batches instead.
How long should the jars cool?
Let them cool upright and undisturbed for 24 hours. Do not tighten the rings while the jars are cooling. After 24 hours, check the lids. The center should be sealed down and should not flex when pressed.
How should I store the jam?
Store properly sealed jars in a cool, dark place. Refrigerate after opening. Any jar that did not seal should be refrigerated right away and used first.
Can I use this jam in baking?
Yes. It works in pastries, tart fillings, sandwich cookies, and simple cakes. It would be very good with puff pastry apple parcels or as a small spoonful beside classic île flottante.
Suggested Posts
If you are working through summer fruit and desserts, try raspberry clafoutis or cherry clafoutis next. Both are simple, fruit-forward desserts that make sense when berries and stone fruit are around.
For breakfast ideas, this jam belongs with easy homemade pancakes and moist blueberry muffins. For a bigger dessert table, add homemade tiramisu or lemon yogurt cake.
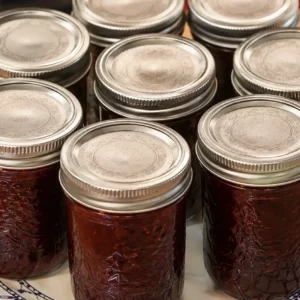
Homemade Strawberry Jam Without Pectin
Ingredients
- 4.4 lb ripe strawberries washed and hulled
- 5 cups granulated sugar
- 3 to 4 tbsp fresh lemon juice
Instructions
- Wash, hull, and drain the strawberries well.
- Place the strawberries in a large heavy-bottomed pot and add the sugar.
- Add the lemon juice, then place the pot over medium-high heat.
- Stir from the bottom until the sugar dissolves and the strawberries release their juice.
- Lightly crush the berries with a potato masher, leaving some texture.
- Bring to a boil, then skim the foam from the surface.
- Lower the heat slightly and cook at a steady boil, stirring often, until the jam reaches 217°F to 221°F or passes the cold-plate test.
- Ladle the hot jam into hot sterilized jars, leaving 1/4 inch headspace.
- Wipe the rims, apply lids, and screw the bands on fingertip-tight.
- Process the jars in a boiling-water canner for 15 minutes once the water returns to a full boil.
- Turn off the heat, remove the canner lid, and let the jars sit for 5 minutes.
- Remove the jars upright and let them cool undisturbed for 24 hours without retightening the bands.
- Check the seals, label the jars, and store sealed jars in a cool, dark place.