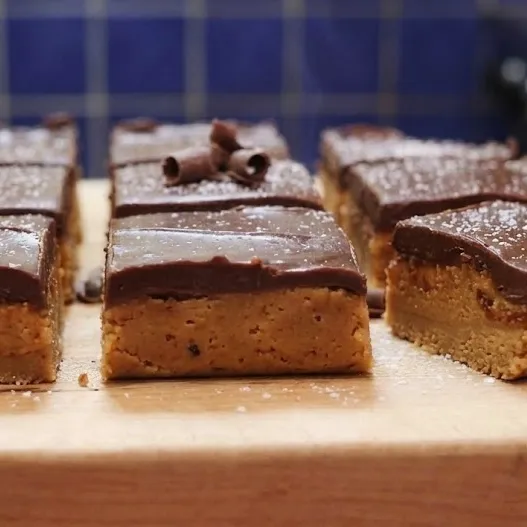
Chocolate Peanut Butter Bars (No-Bake, Fudgy, Bakery-Style)
Chocolate peanut butter bars are chilled dessert squares with a buttery peanut butter base and a smooth chocolate topping—rich like a candy bar, but made in a pan with simple pantry ingredients. They’re different from baked brownies or cookies because the texture stays dense and creamy, and they’re perfect when you want a make-ahead treat for parties, potlucks, lunchboxes, or a freezer-friendly dessert any time of year.

Why these bars work
Fast, no-bake, chill-and-slice dessert with a peanut butter-forward base and a thin, snappy chocolate top. They’re closer to a homemade “Reese’s-style” bar than a brownie, and they’re ideal when you don’t want to turn on the oven or babysit a bake time.
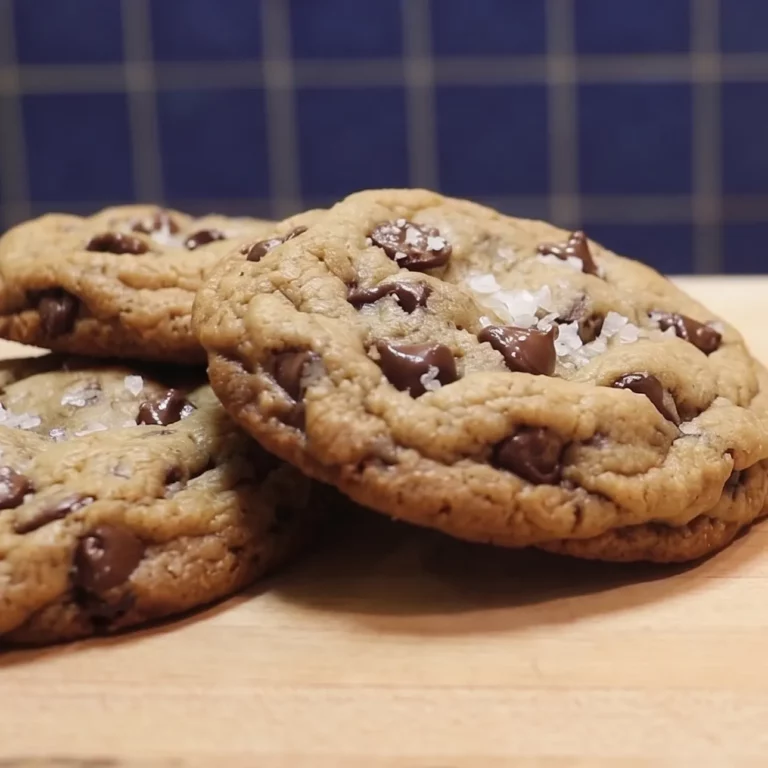
If you’re in a cookie mood instead, go for my chocolate chip cookies (easy recipe). If you want a deep cocoa, baked dessert, my easy homemade Nutella brownies hit that fudgy baked category.
Ingredient notes
These bars are simple, but the texture depends on the balance:
- Peanut butter: Use regular creamy peanut butter (the classic shelf-stable kind). Natural peanut butter can separate and make the base oily or crumbly.
- Powdered sugar: This is what “sets” the base without baking. Too little = soft and greasy; too much = dry and stiff.
- Butter: Adds richness and helps the base firm up in the fridge.
- Chocolate topping: A little butter (or coconut oil) in the chocolate makes slicing cleaner and reduces cracking.
For another creamy dessert vibe—especially in colder months—my no-churn dark chocolate ice cream pairs insanely well with a small bar on the side.
Tools you’ll need
- 8×8-inch pan (or 9×9 for thinner bars)
- Parchment paper (for easy lift-out)
- Mixing bowl + spatula
- Microwave-safe bowl (or double boiler)
- Sharp knife for clean slices
Step-by-step: Chocolate Peanut Butter Bars

1) Prep the pan
Line your pan with parchment paper, leaving overhang on two sides. This makes removal and slicing way easier—and prevents the chocolate top from sticking.
Pro tip: Lightly butter the pan first so the parchment grips and doesn’t slide.

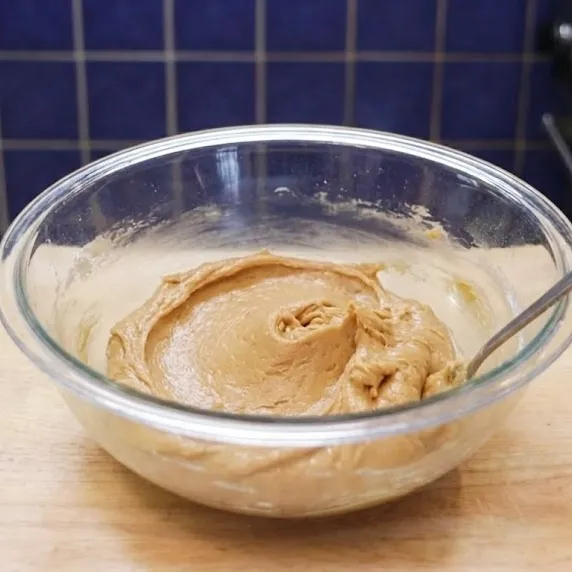
2) Make the peanut butter base
Melt the butter just until liquid (microwave or stovetop). Stir in the peanut butter until smooth and glossy.
Now add powdered sugar gradually, mixing until you get a thick, moldable consistency—like soft cookie dough. If it looks shiny and loose, add a bit more powdered sugar. If it looks dusty and cracks, add 1–2 teaspoons of peanut butter to bring it back.
Press the mixture firmly into the lined pan. Use the bottom of a measuring cup to compact it into an even layer (this helps the bars slice cleanly later).
Texture check: The base should feel dense and smooth, not greasy. If you’ve ever made a chilled square and it “sags” when cut, it’s usually because the base didn’t get pressed firmly enough or the mix was too warm.
3) Chill the base while you melt chocolate
Pop the pan into the fridge for 10–15 minutes while you make the topping. This prevents the chocolate from sinking into the base and gives you a crisp separation between layers.
4) Make the chocolate topping
Melt chocolate chips with a little butter (or coconut oil) until smooth. Do it gently—20–30 second bursts in the microwave, stirring between rounds, or use a double boiler.
Once fully melted, pour the chocolate over the chilled base. Tilt the pan to spread evenly, then tap it lightly on the counter to settle the layer.
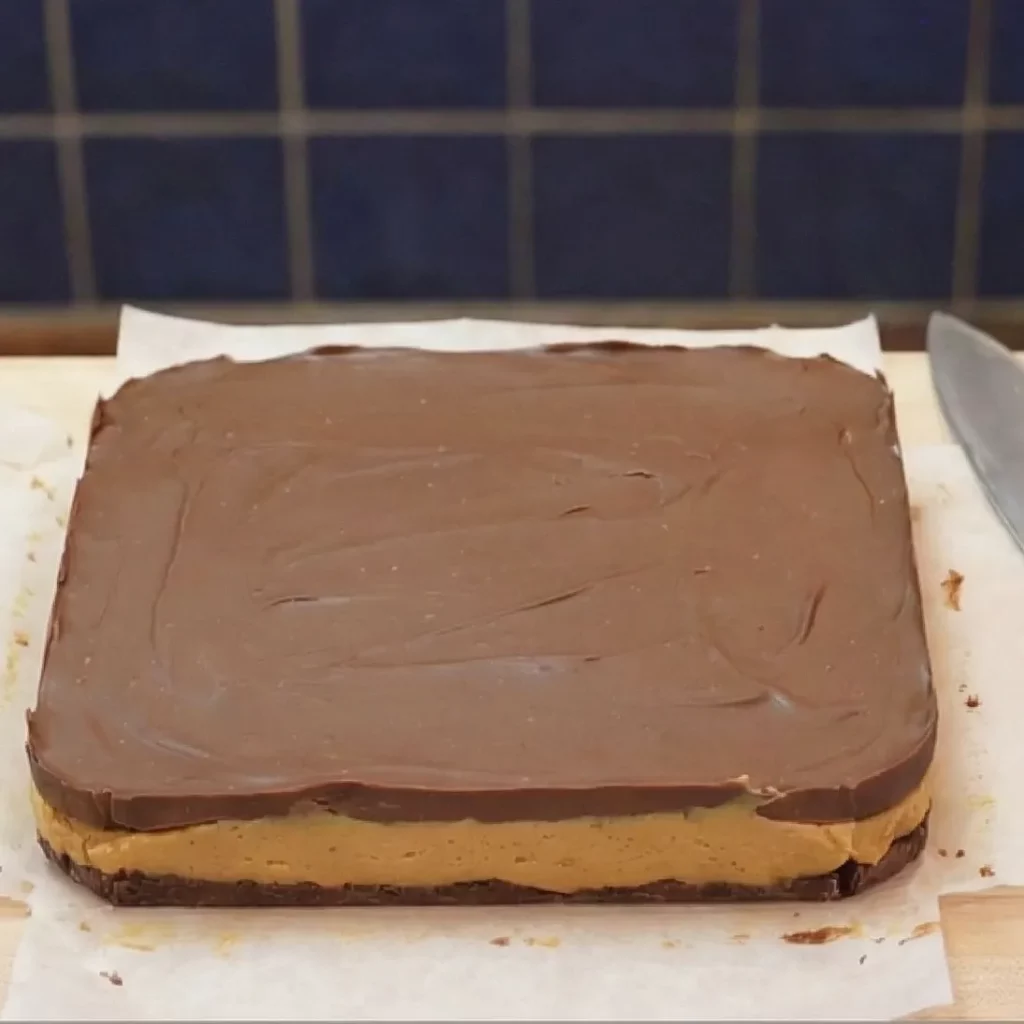
5) Chill until set
Refrigerate until the chocolate is firm—about 1–2 hours. For the cleanest slices:
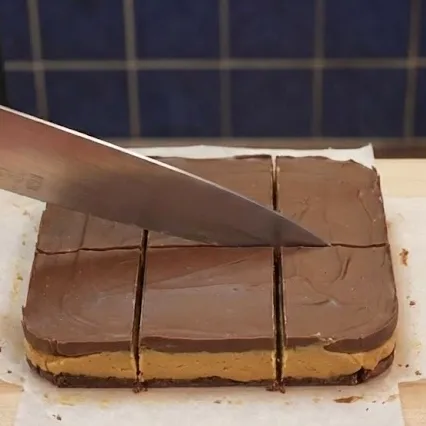
- Let the pan sit at room temp for 5–8 minutes (so the chocolate isn’t rock-hard).
- Use a hot knife (run under hot water, wipe dry).
- Cut straight down—don’t saw back and forth.
If you love that “dessert plate” moment, pair these with a small scoop of no-churn dark chocolate ice cream or serve alongside a warm mug of creamy banana hot chocolate.
Flavor variations
These are small changes that keep the recipe’s identity intact (no-bake peanut butter chocolate bars), while giving you options:
- Crunchy peanut butter: Same quantity, more texture.
- Salted top: A pinch of flaky salt on the warm chocolate layer.
- Pretzel crunch: Fold 1/2 cup crushed pretzels into the base for sweet-salty crunch.
- Chocolate swap: Use semi-sweet for balanced sweetness, or dark chocolate for a sharper cocoa finish.
- Peanut butter swirl: Drop a few spoonfuls of warm peanut butter onto the chocolate and swirl with a toothpick.
If you’re building a dessert spread, add a lighter, airy option like homemade tiramisu (easy and foolproof) or a classic slice cake like red velvet cake (moist, easy, classic).
Substitutions
- Peanut butter → almond butter: Works, but the flavor is milder and the base may soften slightly.
- Peanut butter → sunflower seed butter: Works for a peanut-free version; taste is more earthy. Add an extra pinch of salt.
- Butter → plant-based butter: Works in both layers, but chill time might be slightly longer depending on brand.
- Powdered sugar: This one is important for structure. Liquid sweeteners (maple syrup, honey) will change the base texture and make it soft.
- Chocolate chips → chopped chocolate bar: Totally fine; melt gently.
Health / nutrition context
These are rich dessert bars: peanut butter brings some protein and satisfying fats, while chocolate and sugar provide the classic candy-bar sweetness. Think of them as small-portion treats—one square goes a long way, especially after a meal.
Storage & make-ahead
- Fridge: Store in an airtight container up to 7 days.
- Freezer: Freeze sliced bars (parchment between layers) up to 2 months. Thaw 10–15 minutes before serving.
FAQ
Can I make these chocolate peanut butter bars without baking?
Yes—this is a true no-bake dessert bar. The powdered sugar sets the peanut butter base, and chilling sets the chocolate top.
Why did my chocolate topping crack when I sliced it?
Most often: chocolate layer too thick, too cold, or no fat added. Let the pan sit 5–8 minutes before slicing, use a hot knife, and include a little butter (or coconut oil) in the melted chocolate.
Why is my base too soft?
Common causes: natural peanut butter separation, not enough powdered sugar, or pressing the base too lightly. Chill longer, and next time use classic creamy peanut butter and press firmly.
Can I use natural peanut butter?
You can, but expect a softer, sometimes oily base. If you use natural, mix it extremely well and consider adding a bit more powdered sugar to help structure.
What pan size is best?
An 8×8-inch pan gives thick, candy-bar-like squares. A 9×9 makes thinner bars that set faster and feel lighter.
What to serve with / Suggested posts
For a full dessert table or a cozy night in, pair these bars with:
- No-churn dark chocolate ice cream for a cold-and-creamy contrast
- Creamy banana hot chocolate for a warm drink pairing
- Homemade tiramisu (easy and foolproof) for a coffee-forward dessert option
- Red velvet cake (moist, easy, classic) for a celebration-style dessert
- Easy homemade Nutella brownies if you want a baked fudgy chocolate option
- Moist apple cake when you want a fruit-based dessert on the same table
- Chocolate chip cookies (easy recipe) if you’re doing a cookie tray
- Bakery-style double chocolate muffins for brunch-style chocolate lovers
- Foolproof one-bowl vanilla cake for a simple classic cake base
- MichelDumas.com home to browse more desserts and comfort-food classics
Chocolate Peanut Butter Bars (No-Bake, Fudgy, Bakery-Style)
Ingredients
Peanut Butter Base
- 1/2 cup unsalted butter melted
- 1 cup creamy peanut butter
- 2 cups powdered sugar
- 1/2 teaspoon fine salt
- 1 teaspoon vanilla extract optional
Chocolate Topping
- 2 cups semi-sweet chocolate chips
- 2 tablespoons unsalted butter or 1 tablespoon coconut oil
Instructions
- Line an 8×8-inch pan with parchment paper (leave overhang).
- Base: Stir melted butter + peanut butter until smooth. Mix in salt and vanilla. Add powdered sugar and stir until thick like soft dough.
- Press base firmly into pan in an even layer. Chill 10–15 minutes.
- Topping: Melt chocolate chips with butter (microwave in short bursts, stirring often) until smooth.
- Pour chocolate over chilled base and spread evenly. Tap pan lightly to level.
- Refrigerate 1–2 hours until set. Let sit 5–8 minutes before slicing. Use a warm, dry knife for clean cuts.
- Store chilled in an airtight container (up to 7 days) or freeze sliced bars (up to 2 months).
Notes
Substitutions
- Peanut butter → almond butter: Works, but the flavor is milder and the base may soften slightly.
- Peanut butter → sunflower seed butter: Works for a peanut-free version; taste is more earthy. Add an extra pinch of salt.
- Butter → plant-based butter: Works in both layers, but chill time might be slightly longer depending on brand.
- Powdered sugar: This one is important for structure. Liquid sweeteners (maple syrup, honey) will change the base texture and make it soft.
- Chocolate chips → chopped chocolate bar: Totally fine; melt gently.
FAQ
Can I make these chocolate peanut butter bars without baking?
Yes—this is a true no-bake dessert bar. The powdered sugar sets the peanut butter base, and chilling sets the chocolate top.Why did my chocolate topping crack when I sliced it?
Most often: chocolate layer too thick, too cold, or no fat added. Let the pan sit 5–8 minutes before slicing, use a hot knife, and include a little butter (or coconut oil) in the melted chocolate.Why is my base too soft?
Common causes: natural peanut butter separation, not enough powdered sugar, or pressing the base too lightly. Chill longer, and next time use classic creamy peanut butter and press firmly.Can I use natural peanut butter?
You can, but expect a softer, sometimes oily base. If you use natural, mix it extremely well and consider adding a bit more powdered sugar to help structure.What pan size is best?
An 8×8-inch pan gives thick, candy-bar-like squares. A 9×9 makes thinner bars that set faster and feel lighter.Useful Links
🛒 Michel Dumas Shop : Explore our kitchen essentials, including aprons and knives.
🌐 Linktree : Access all our important links in one place.
📱 YouTube | Instagram | Facebook | TikTok : Follow us for the latest recipes and culinary tips.